Peppermint White Chocolate Cake
This post may contain affiliate links, please visit our privacy policy for details.
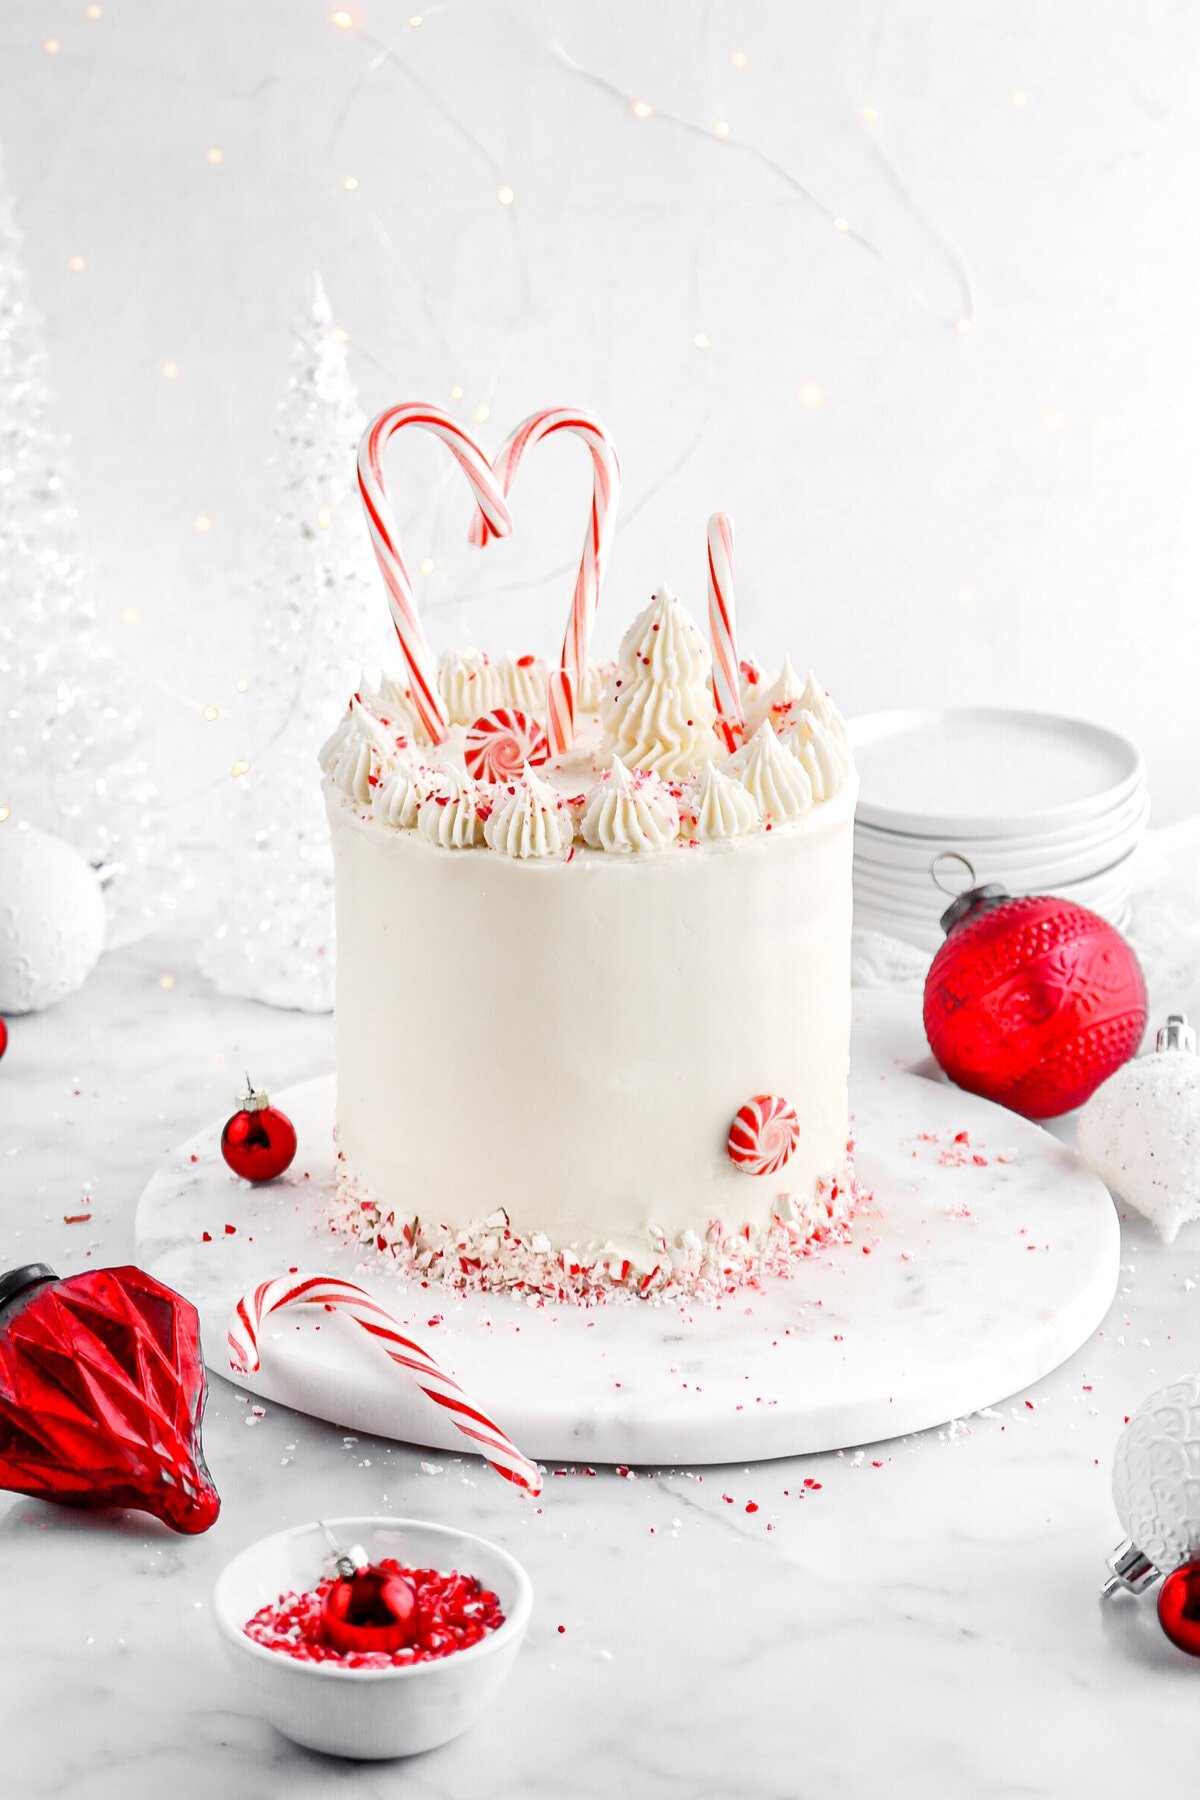
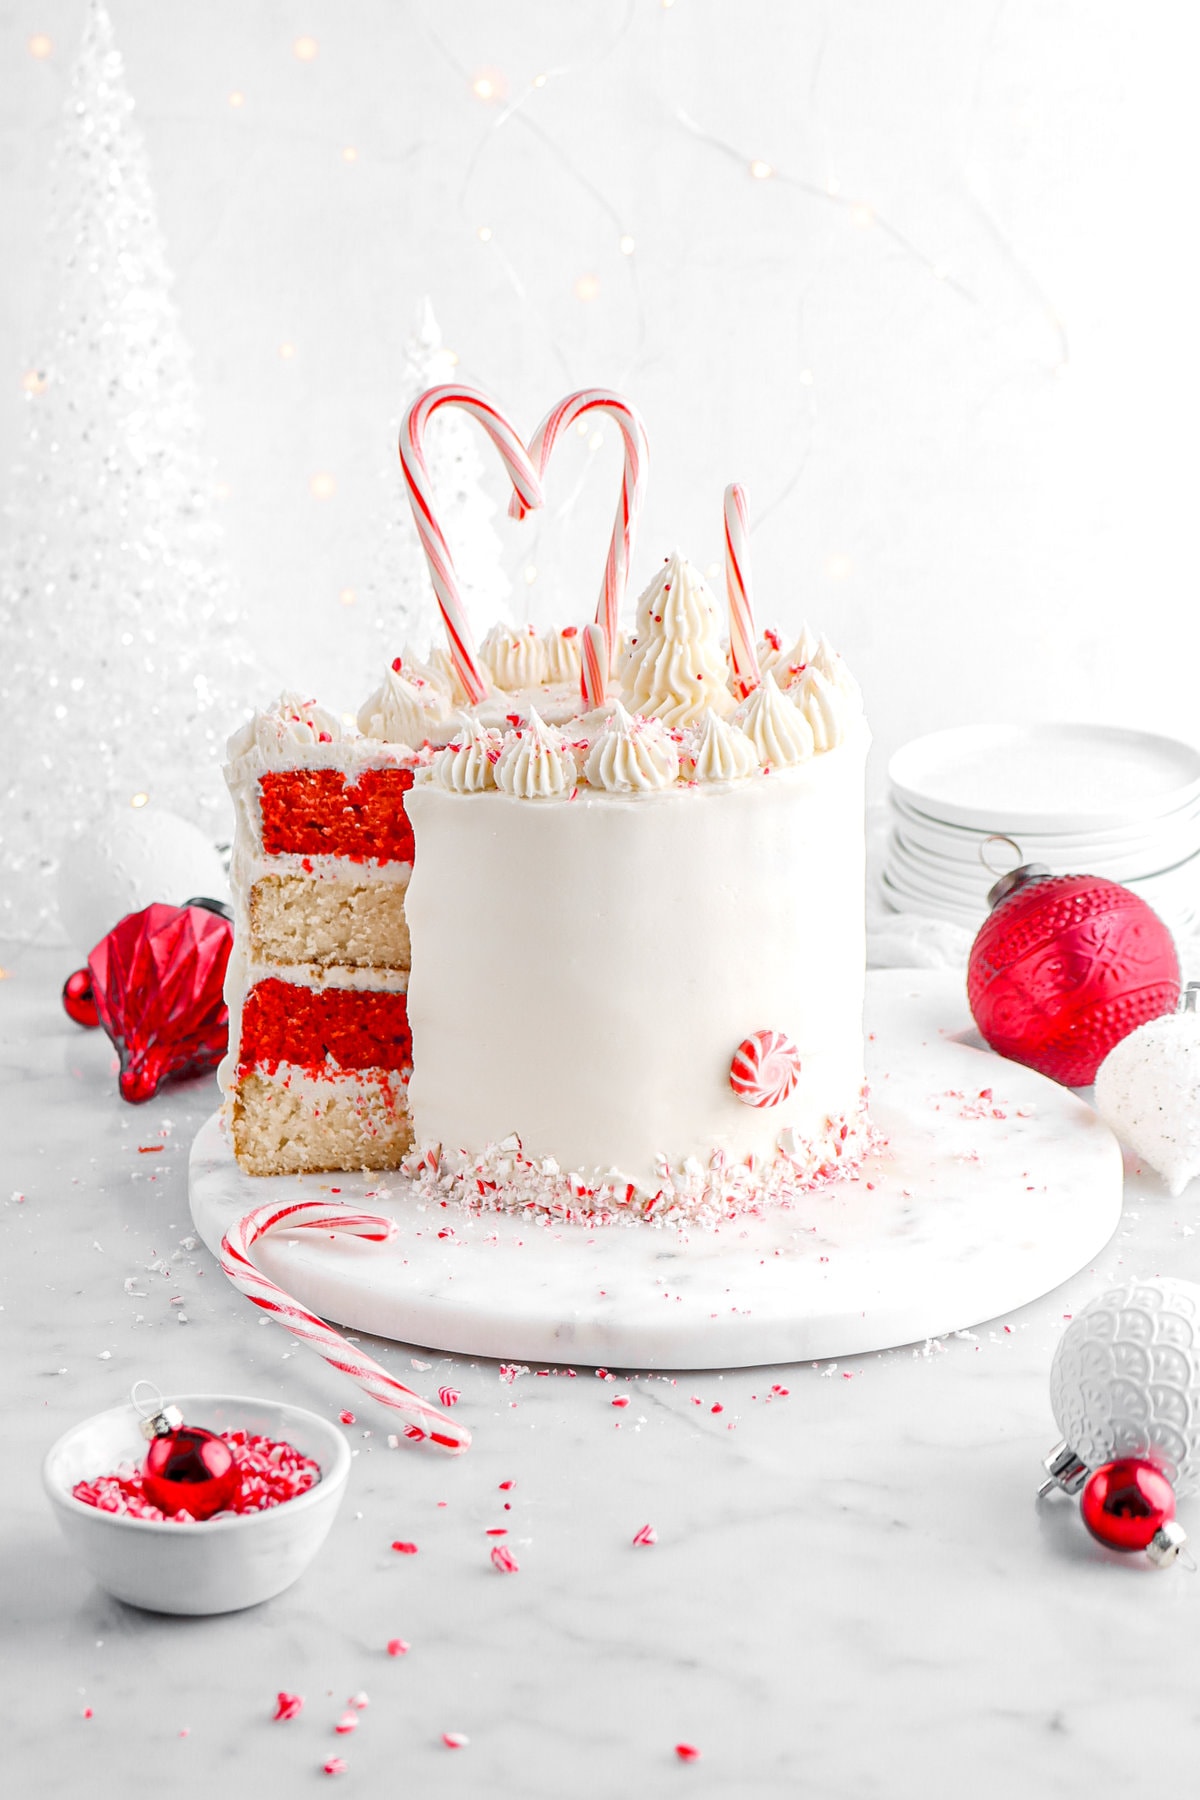
Get into the holiday spirit with this extra festive Peppermint White Chocolate Cake! It looks and tastes like a candy cane wonderland. It is SO good, but actually so simple to make! All you need is a handful of ingredients, a mixing bowl, and a whisk to create the ultimate peppermint cake. Every bite is light, fluffy, perfectly sweet, with hints of vanilla followed by sweet peppermint in a creamy buttercream frosting. This cake is sure to be a crowd favorite this holiday season!
One of our reader favorite cakes during the Christmas season has always been our Dark Chocolate Peppermint Cake! Inspired by our deep love of Peppermint Bark, it was a cake that quickly became one of our top recipes. But, over the years, we started getting requests for a cake without the addition of dark chocolate. Something more festive. More like our White Christmas Cake!
Which is what lead us to the development of today’s recipe…this oh-so cute candy cane inspired white chocolate peppermint cake! It’s sweet, pepperminty, chocolate-y, and perfectly Christmassy.
Loads of White Chocolate and Peppermint
This cake is made with real white chocolate and just the right amount of peppermint extract (no toothpaste here!). Believe it or not, most white chocolate sold on the market is actually…not white chocolate. If you check ingredient lists, most do not contain cocoa butter (which is what makes chocolate – well, chocolate!).
This recipe uses our favorite brand to ensure the full flavor you expect when taking a bite of white chocolate.
Because of this, this cake is seriously so delicious and unlike any recipes on our blog to date.
This White Chocolate Peppermint Cake Is:
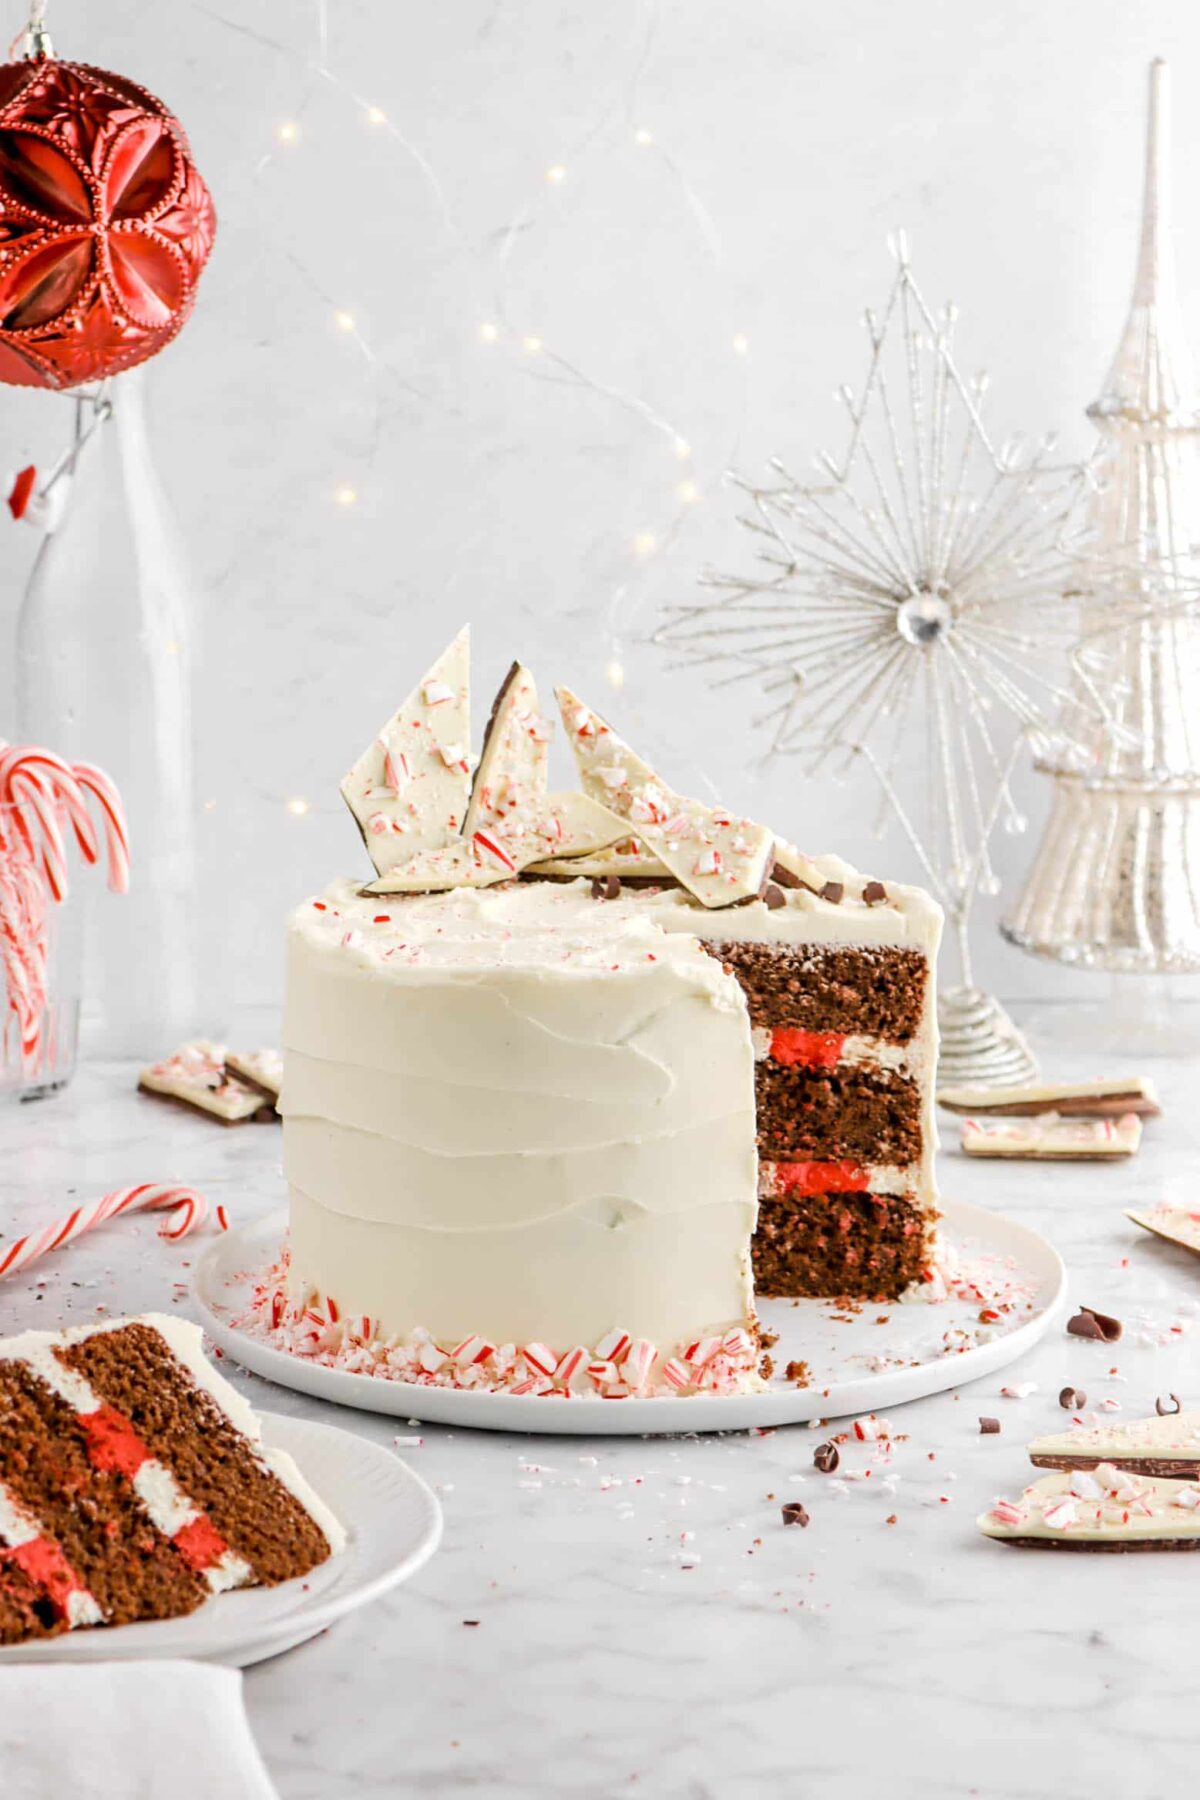
- Gorgeous. I honestly can’t get over how effortlessly gorgeous this cake is! The stunning contrast between red and white that’s shown throughout the entire cake really just makes this cake pop!
- So simple. If you’ve ever gone to a cake recipe and read “butter, room temperature” and thought to yourself, “but I don’t have time to do that!”…then this recipe is for you! Made with oil instead of butter, this cake is just as tender, even more moist than a traditional butter cake, and 10x as easy to make. A win-win!
- Perfect for Christmas Dinner. Okay, well AFTER Christmas dinner (but I wouldn’t blame you for having a bite or a whole slice during dinner!). This cake is essentially Christmas in a cake. I mean, does it get anymore festive than peppermint?!
- A crowd favorite. We had our taste testers all take a bite of this cake and…let me just say, I wish we made a cake bigger than 6 inches! There wasn’t even a crumb left. Everyone agreed that it was one of the best Christmas cakes they’d ever had.
Here’s What You’ll Need For This White Chocolate Peppermint Cake
Full ingredient amounts and instructions can be found in the recipe card at the bottom of the post.
For The Cake:
- All Purpose Flour – No need for anything fancy! Plain all purpose flour has just the right amount of protein to create the perfect structure for this cake.
- Granulated Sugar – Because it adds the perfect amount of sweetness, granulated sugar is the best choice here. It also helps with the texture and structure of the cake.
- Baking Powder – The leavening used to help this cake rise.
- Salt – Just a bit of salt cuts some of the sweetness while enhancing the flavor.
- Whole Milk – Adding moisture to the cake, whole milk contributes to the structure and texture as well.
- Large Eggs – The binder that holds the batter together, eggs add leavening, structure, and richness.
- Vegetable Oil – We wanted a neutral flavor that would also contribute moisture and make the cake lighter which made vegetable oil the perfect choice.
- Vanilla Extract – While adding a subtle undertone that complements the white chocolate in this cake, vanilla also enhances its flavor.
- White Chocolate – Lending both flavor and richness, white chocolate is the major flavor component in this cake.
- Red Food Coloring – Gel food color is the best choice.

For The Frosting:
- Salted Butter – This frosting gets its richness and creaminess from the butter. The salt in the butter enhances the flavor and helps the peppermint really stand out.
- Powdered Sugar – Not only does powdered sugar sweeten, it is the best choice for making this frosting smooth because it melts easily, making it a snap to incorporate.
- Heavy Cream – With its higher fat content, heavy cream adds richness. It’s also the liquid component in this frosting that helps make it fluffier.
- Vanilla Extract – Adding a subtle undertone, vanilla enhances the flavor of the peppermint.
- Peppermint Extract – Have a milder flavor than peppermint oil, peppermint extract is much easier to use.

How To Make This Peppermint White Chocolate Cake (Step-by-Step!)
Step 1: Make the cake batter
In a large bowl, whisk together flour, sugar, baking powder, and salt.


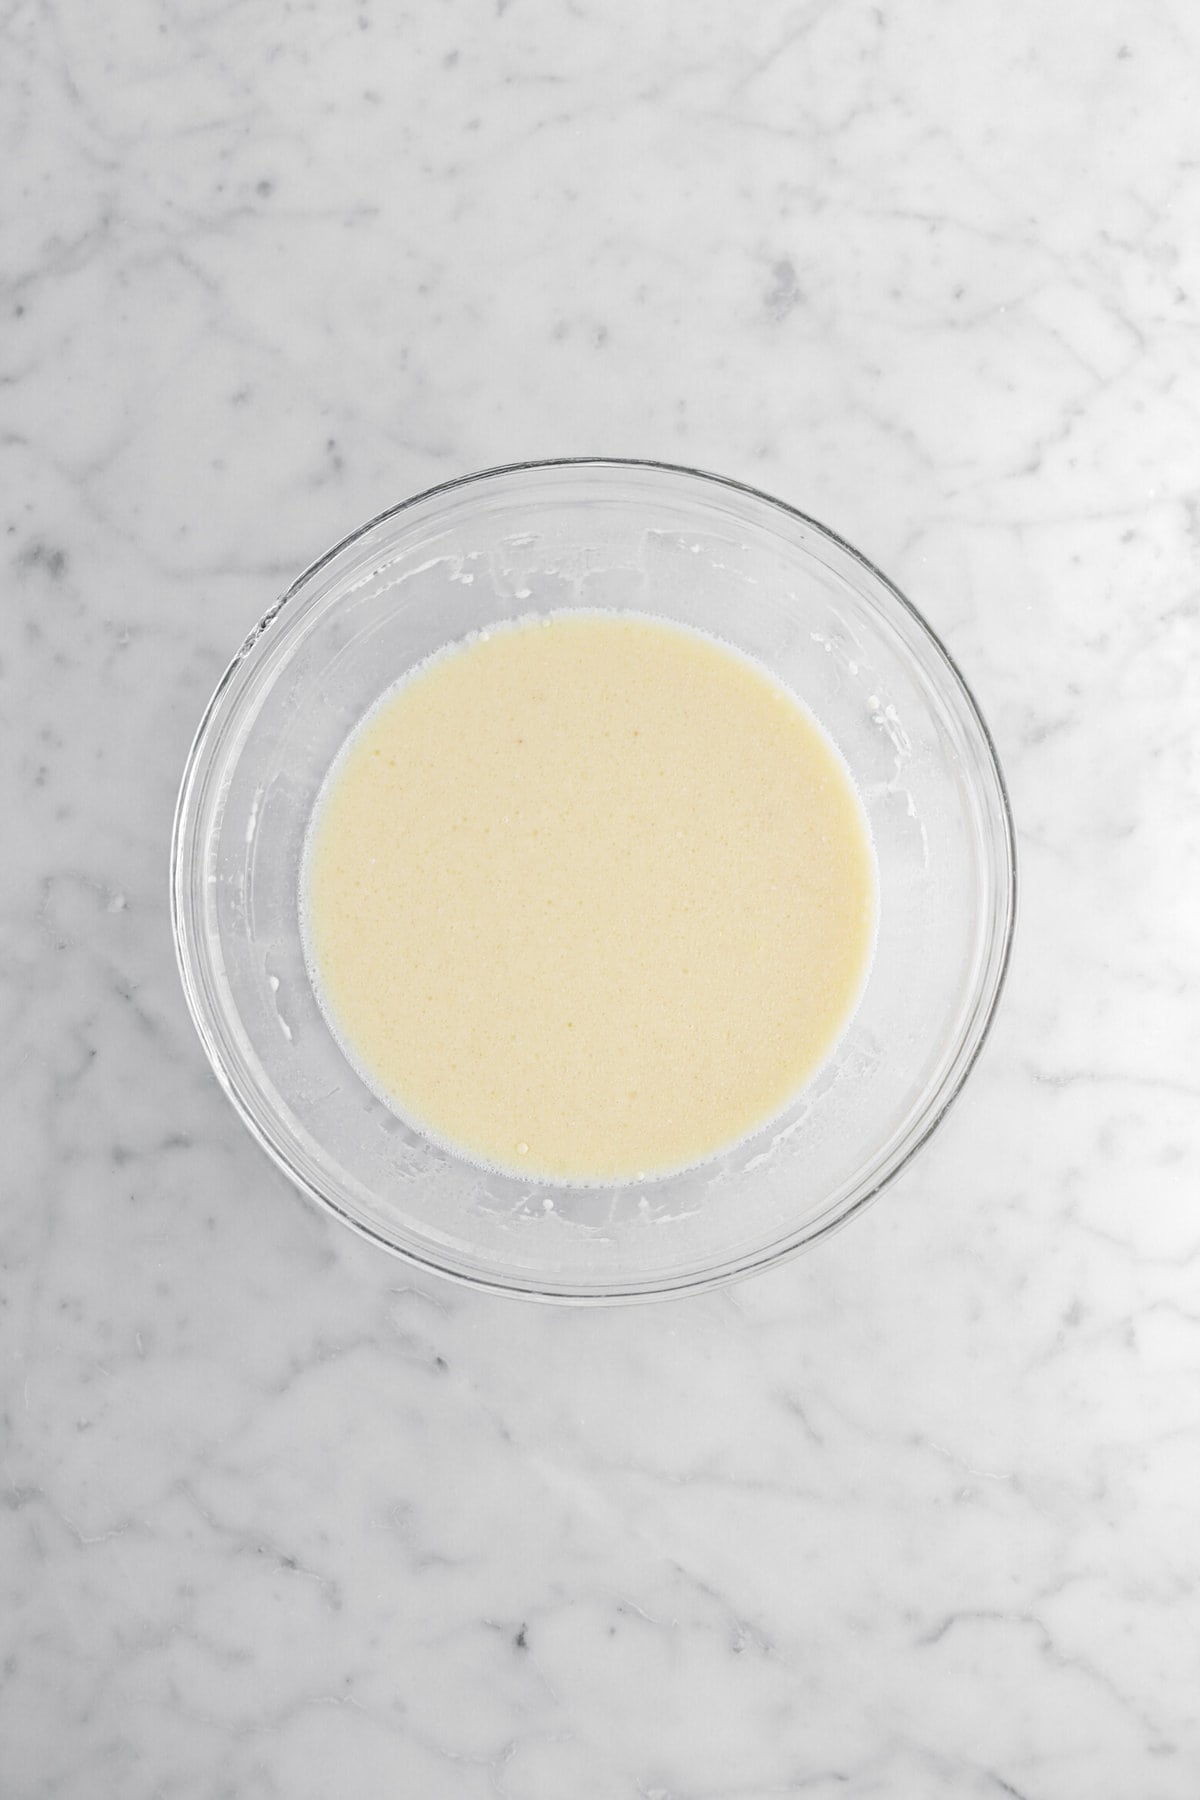
In a medium bowl, whisk together milk, eggs, vegetable oil, and vanilla.

Pour wet ingredients over dry ingredients. Mix.


Stir in white chocolate.


Divide batter in half.

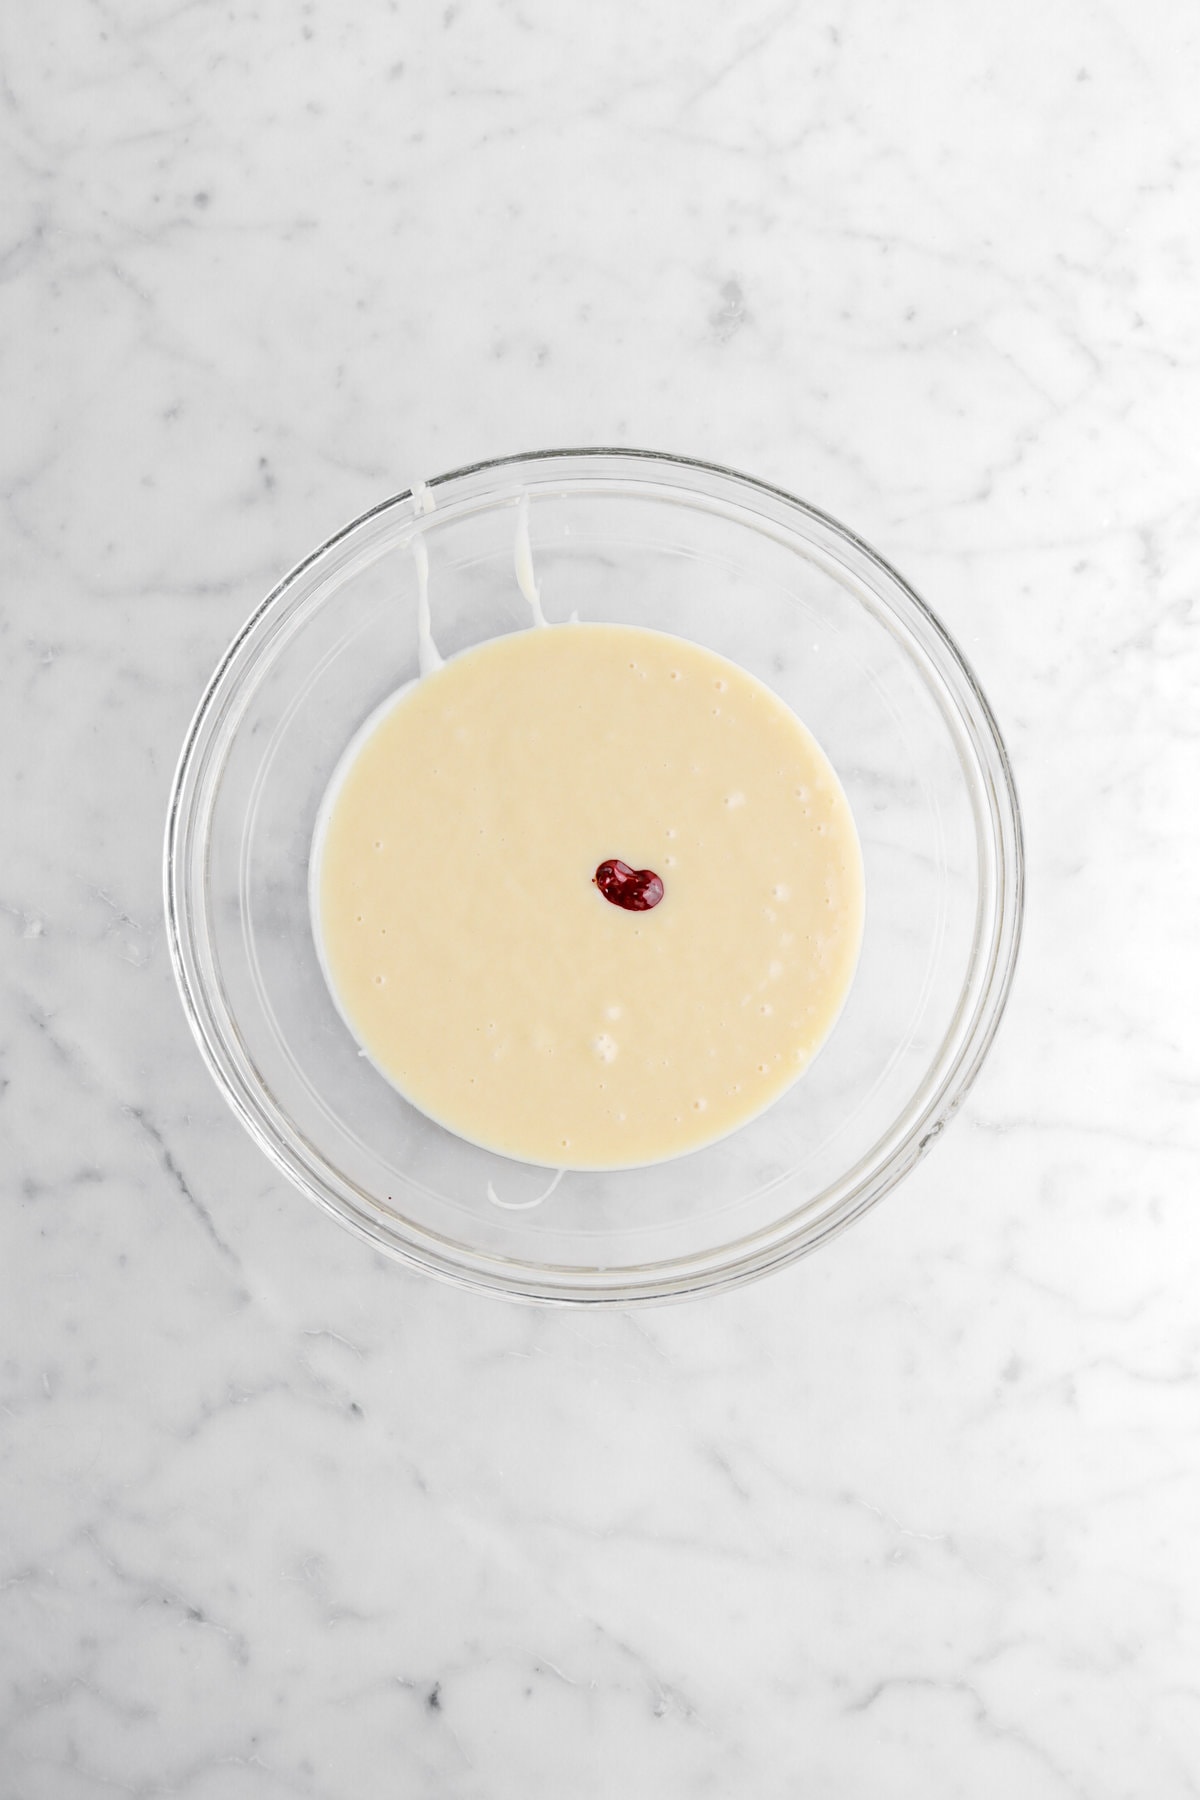
To one half of the batter, add dye. Stir until incorporated.

Step 2: Bake and prep cakes
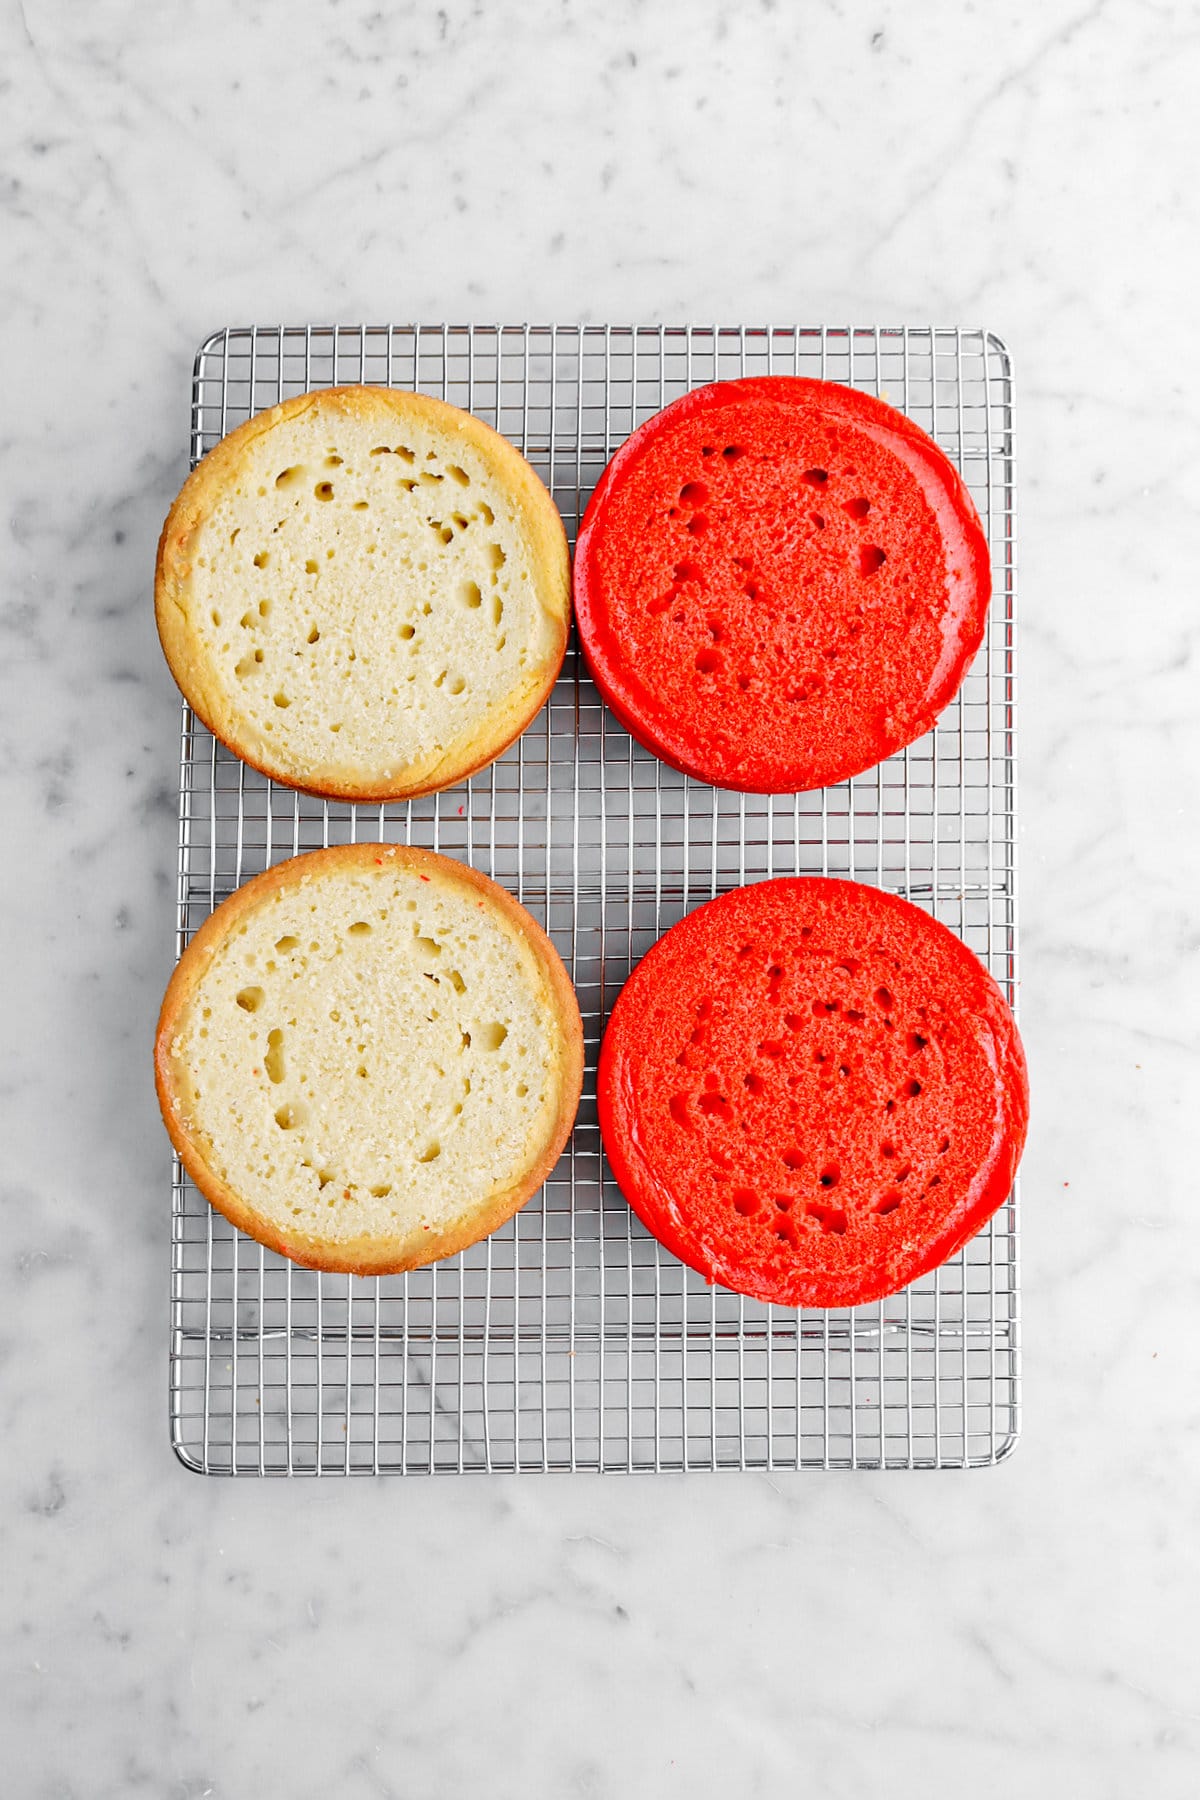
Divide plain batter evenly between 2 of the prepared pans. Divide red batter evenly between the other 2 prepared pans.


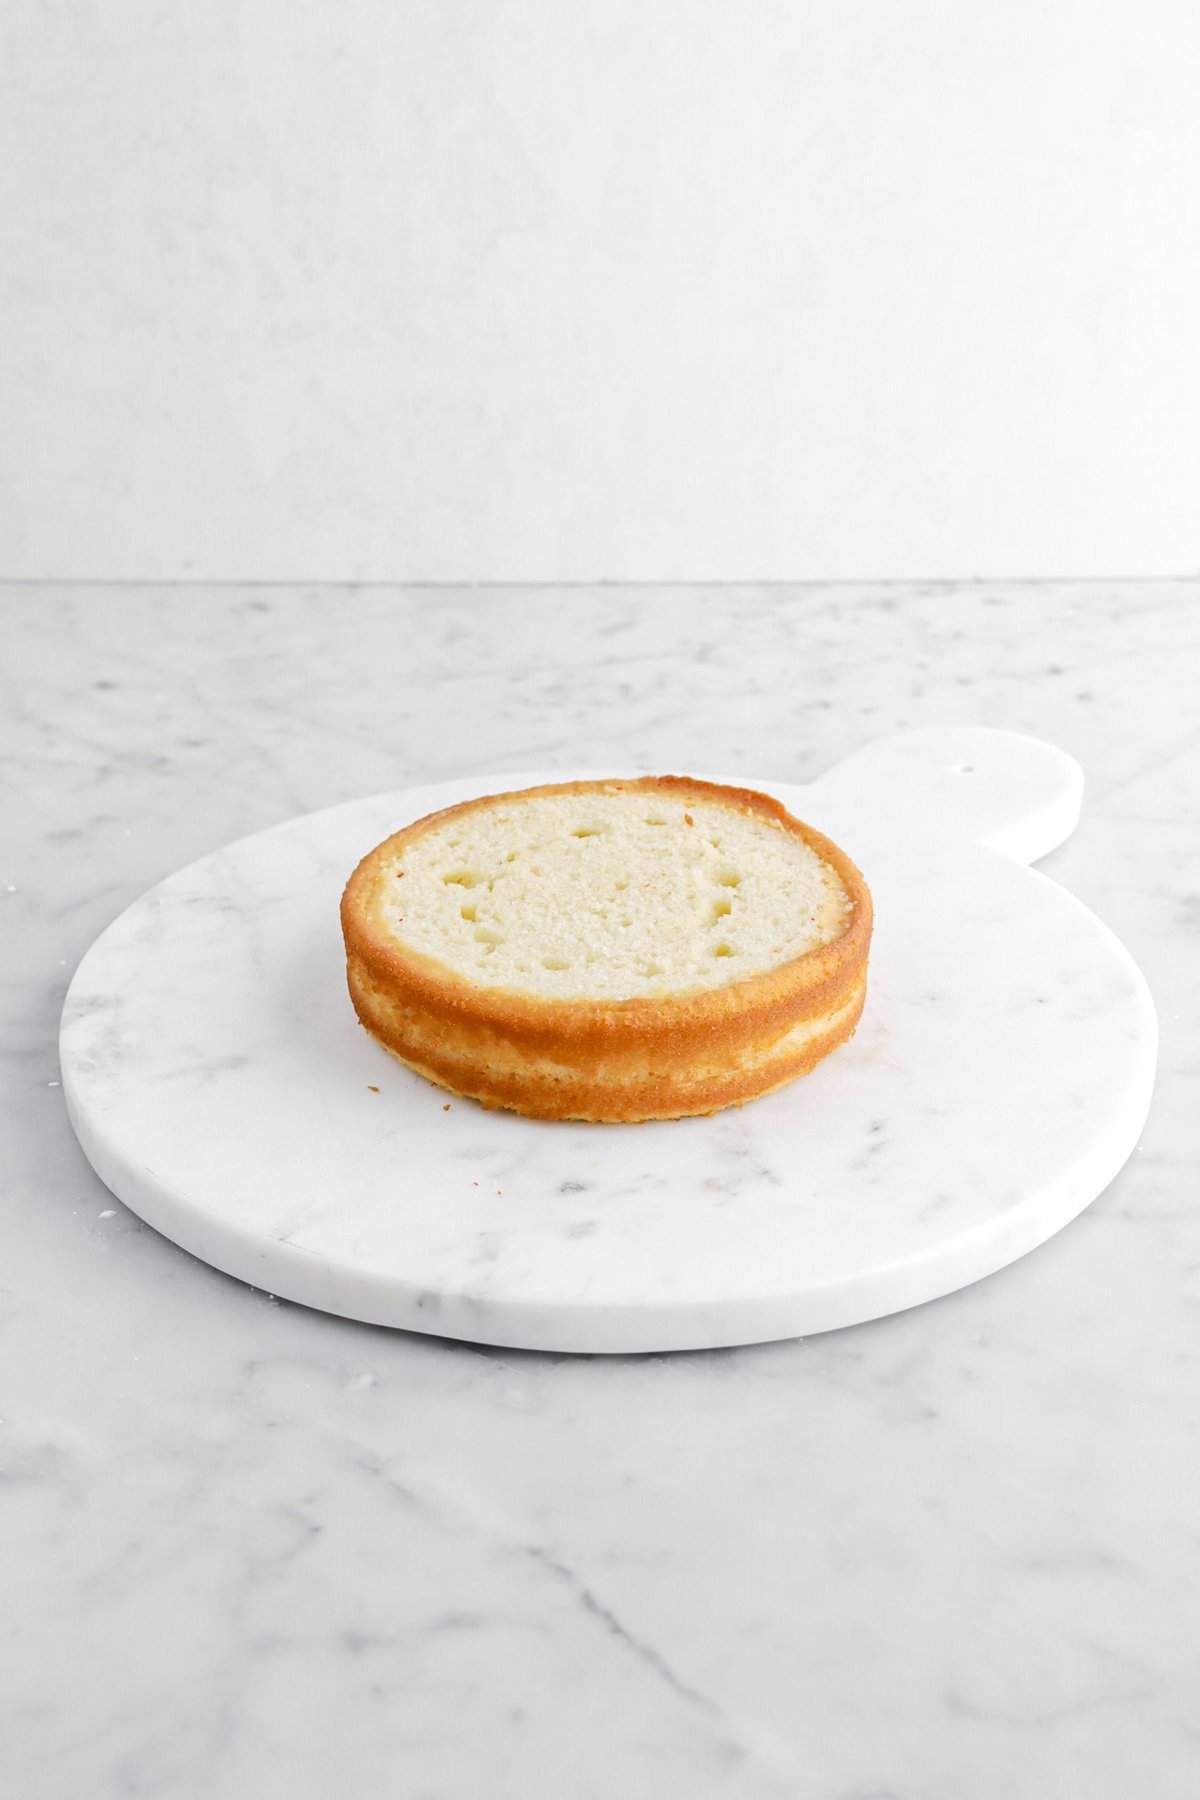
Allow to cool 5-10 minutes, or until pans are cool to the touch. Turn out on wire cooling rack. Cool completely. Level, if needed.

Step 3: Mix up frosting
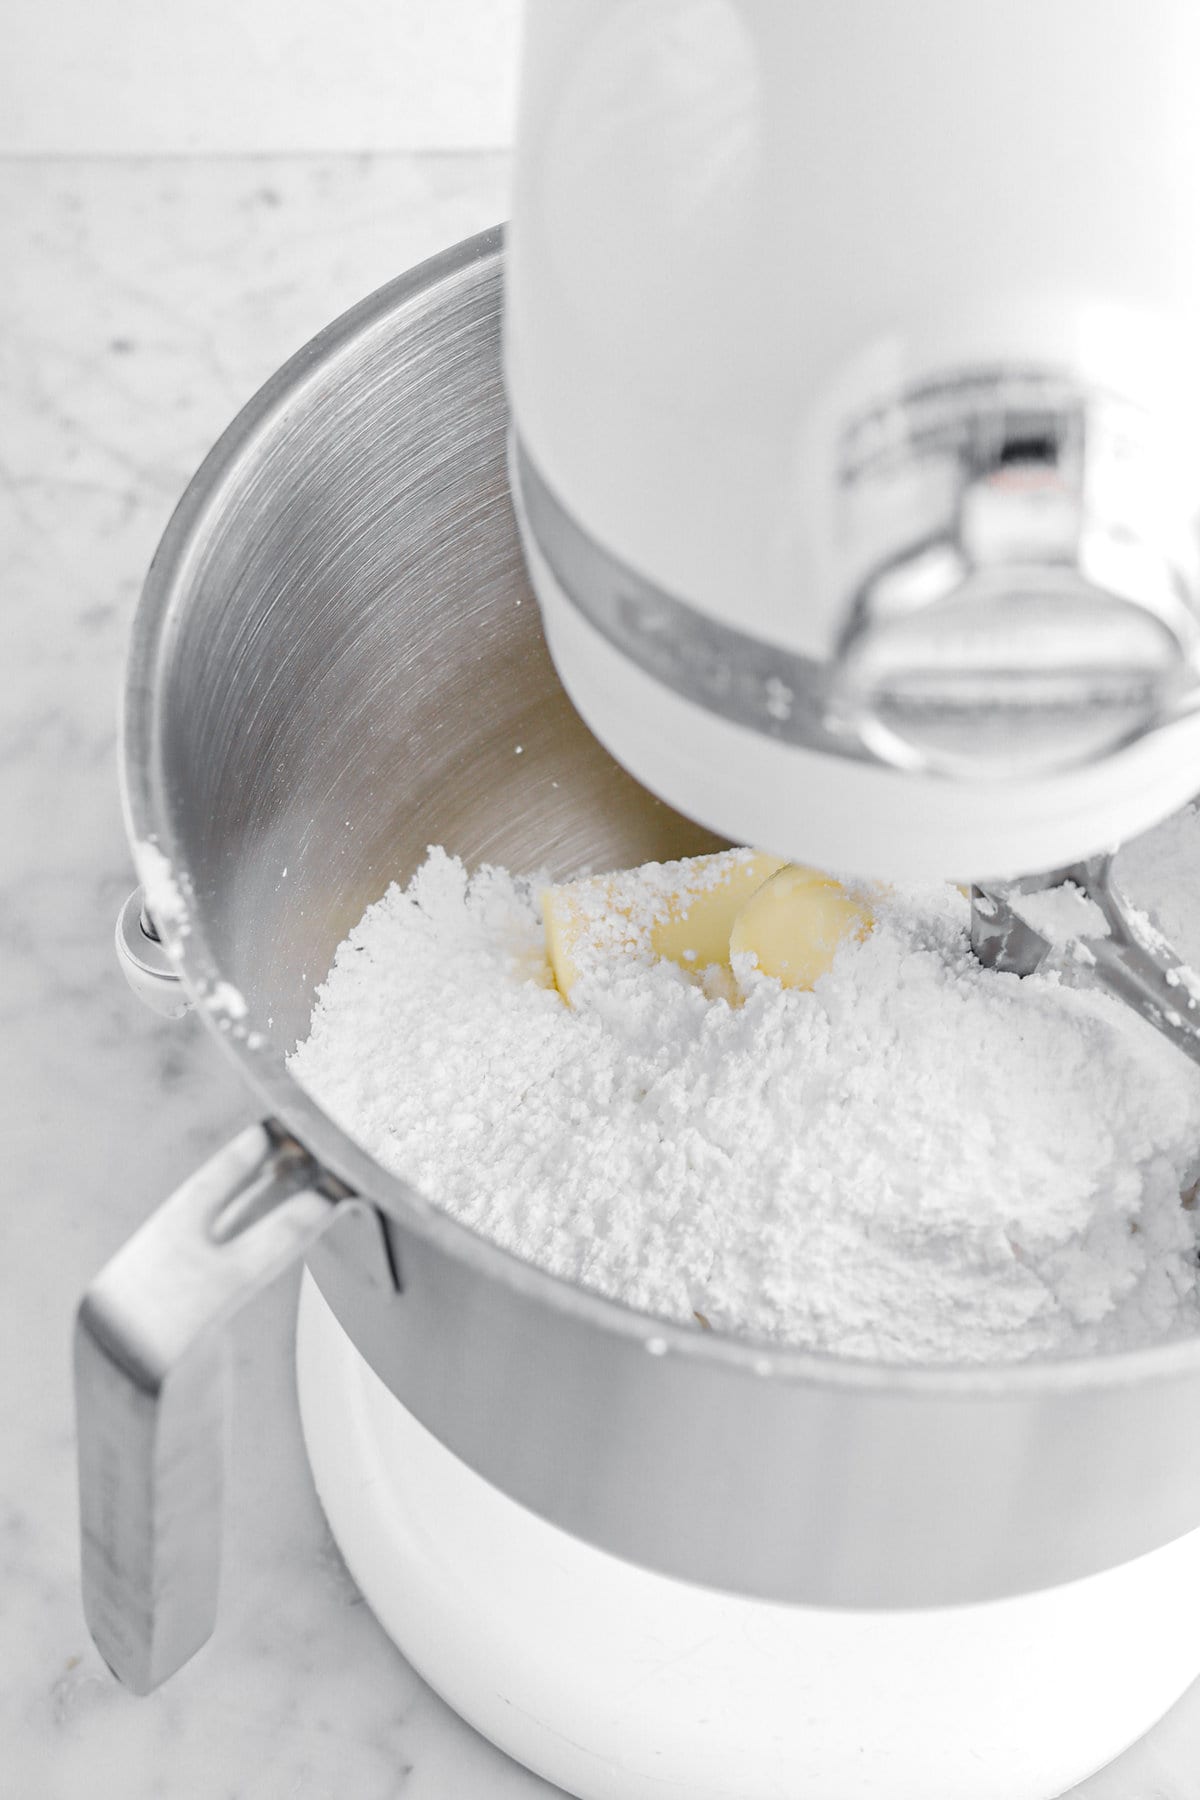
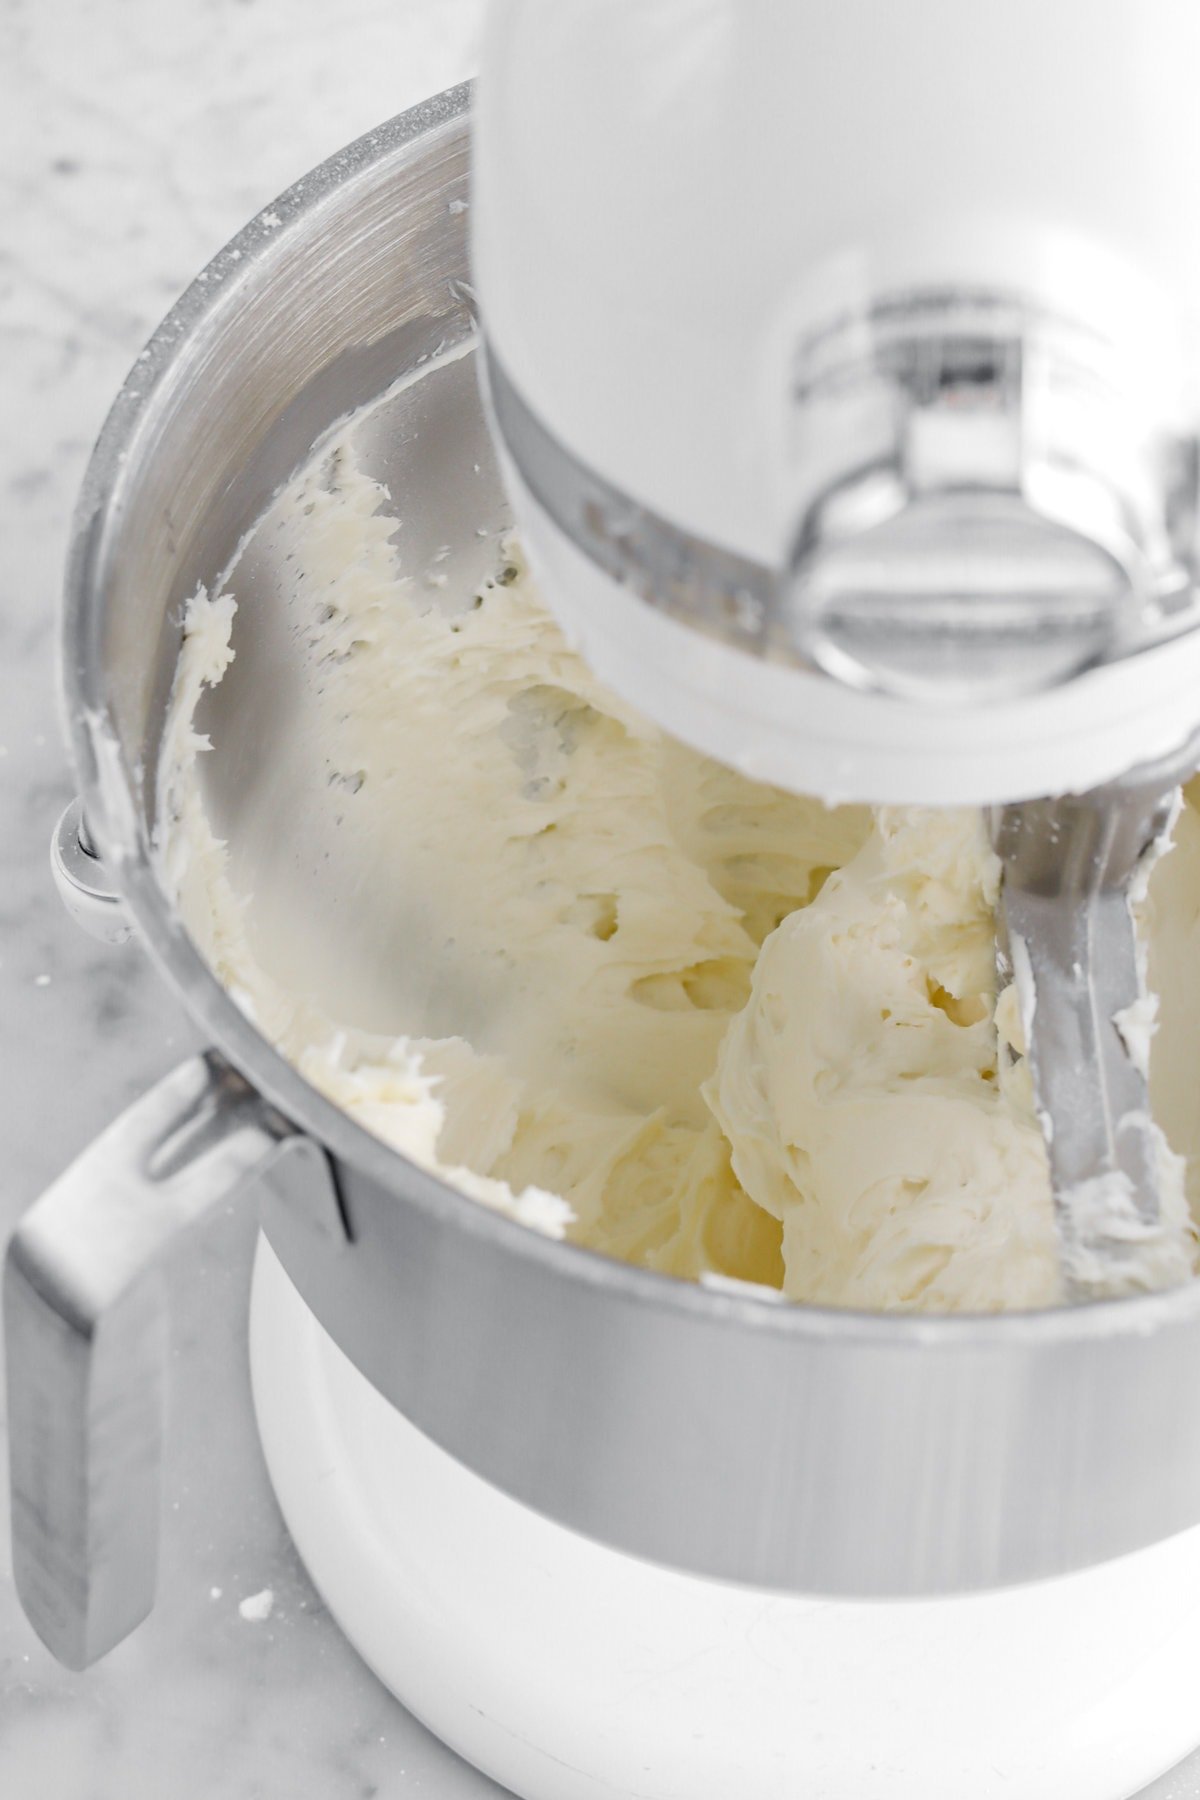
Beat butter and powdered sugar until well blended about 2-3 minutes.
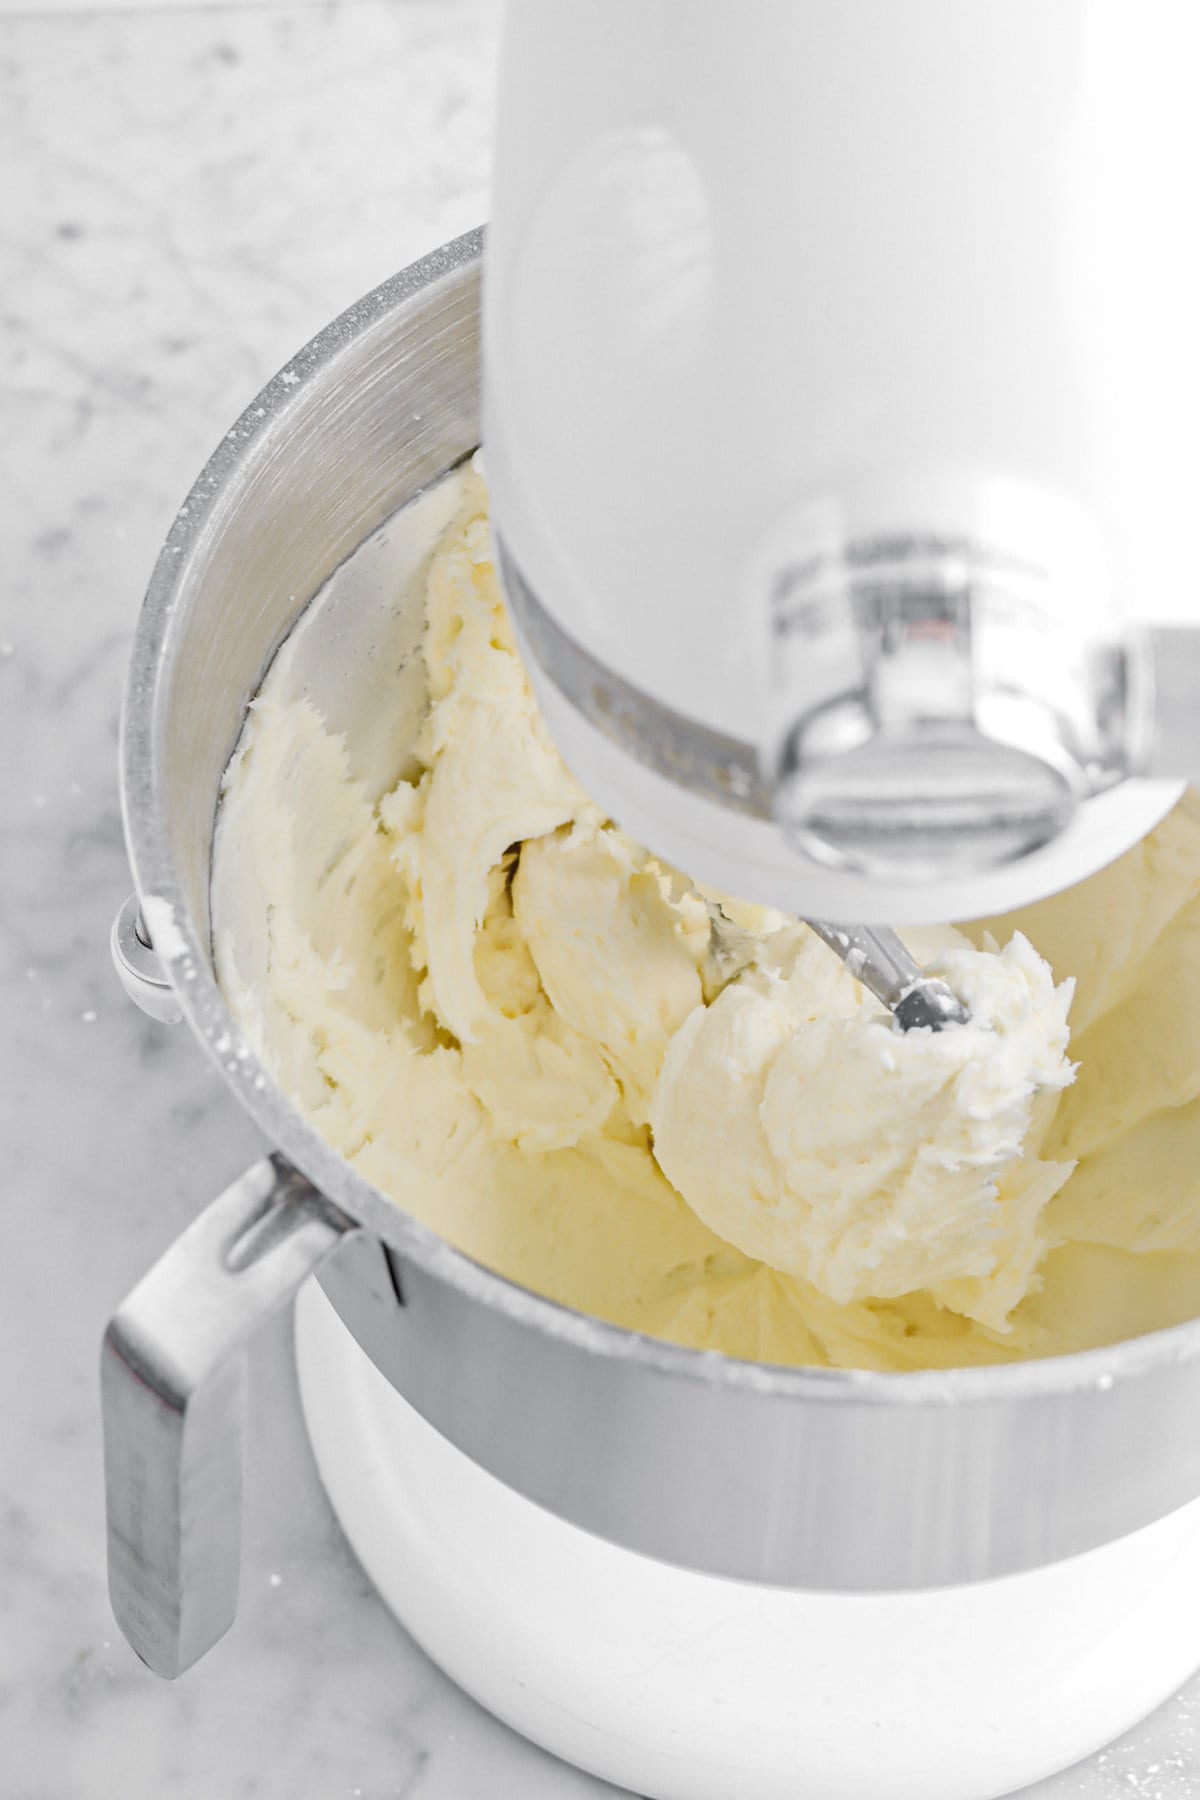
Add cream, vanilla, and peppermint. Beat until light and fluffy, about 1-2 minutes.

Step 4: Assemble cake
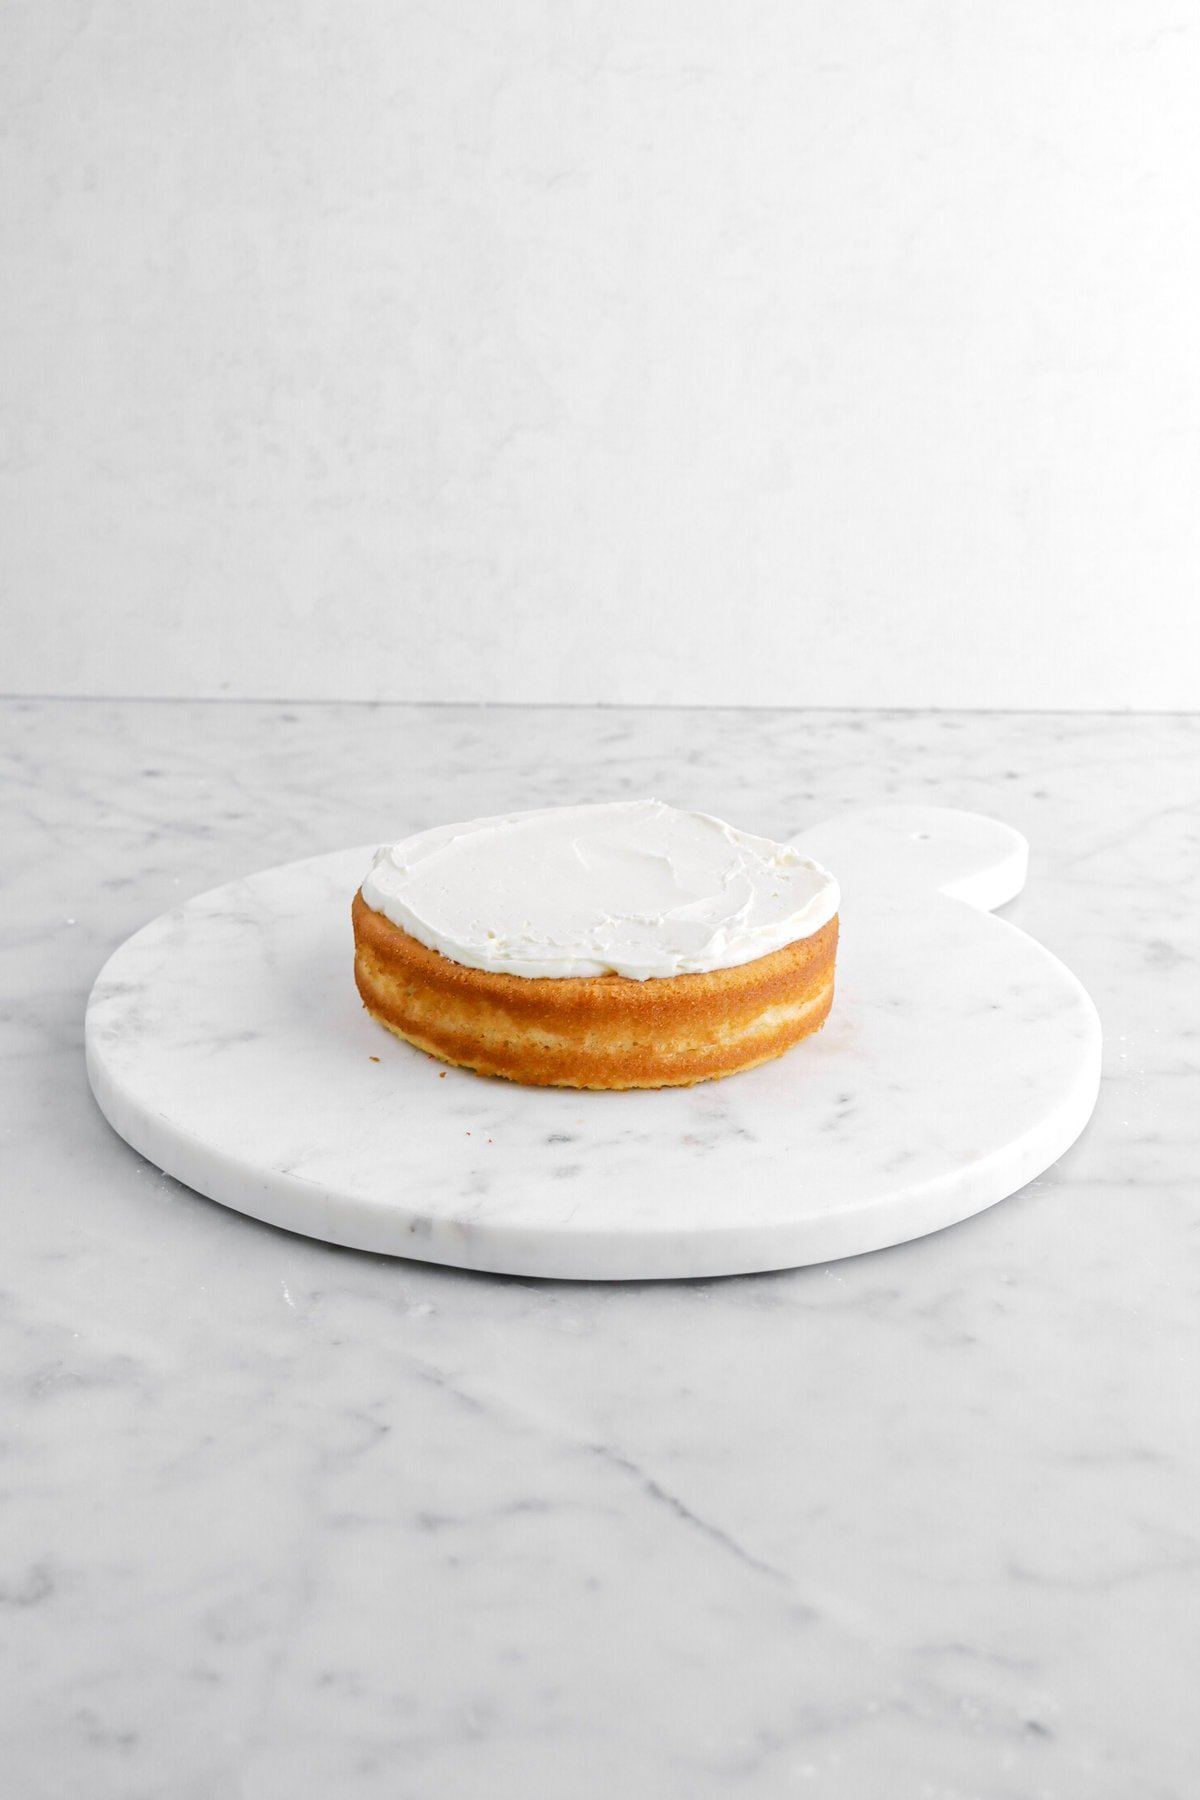
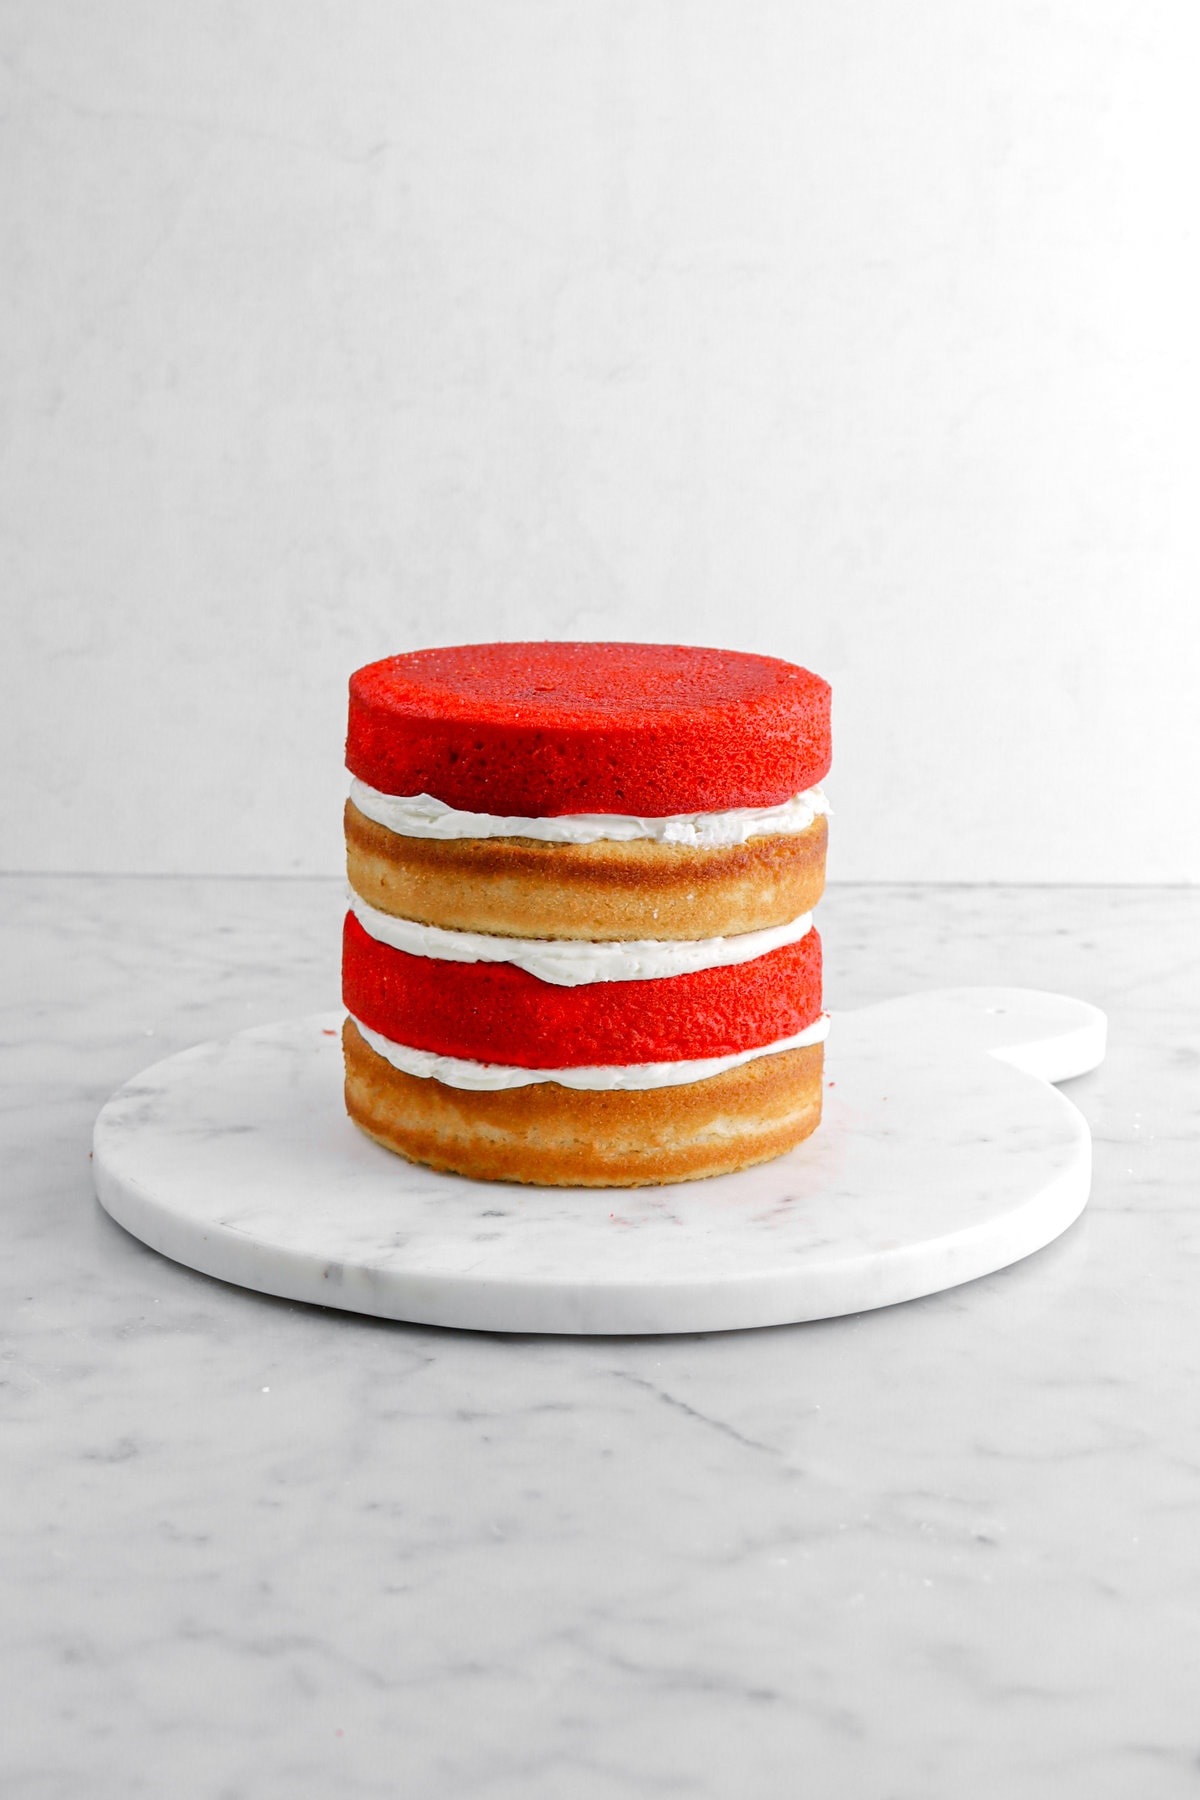
Place one of the plain cake layers on serving platter. Top with frosting. Place a red layer of cake on top.

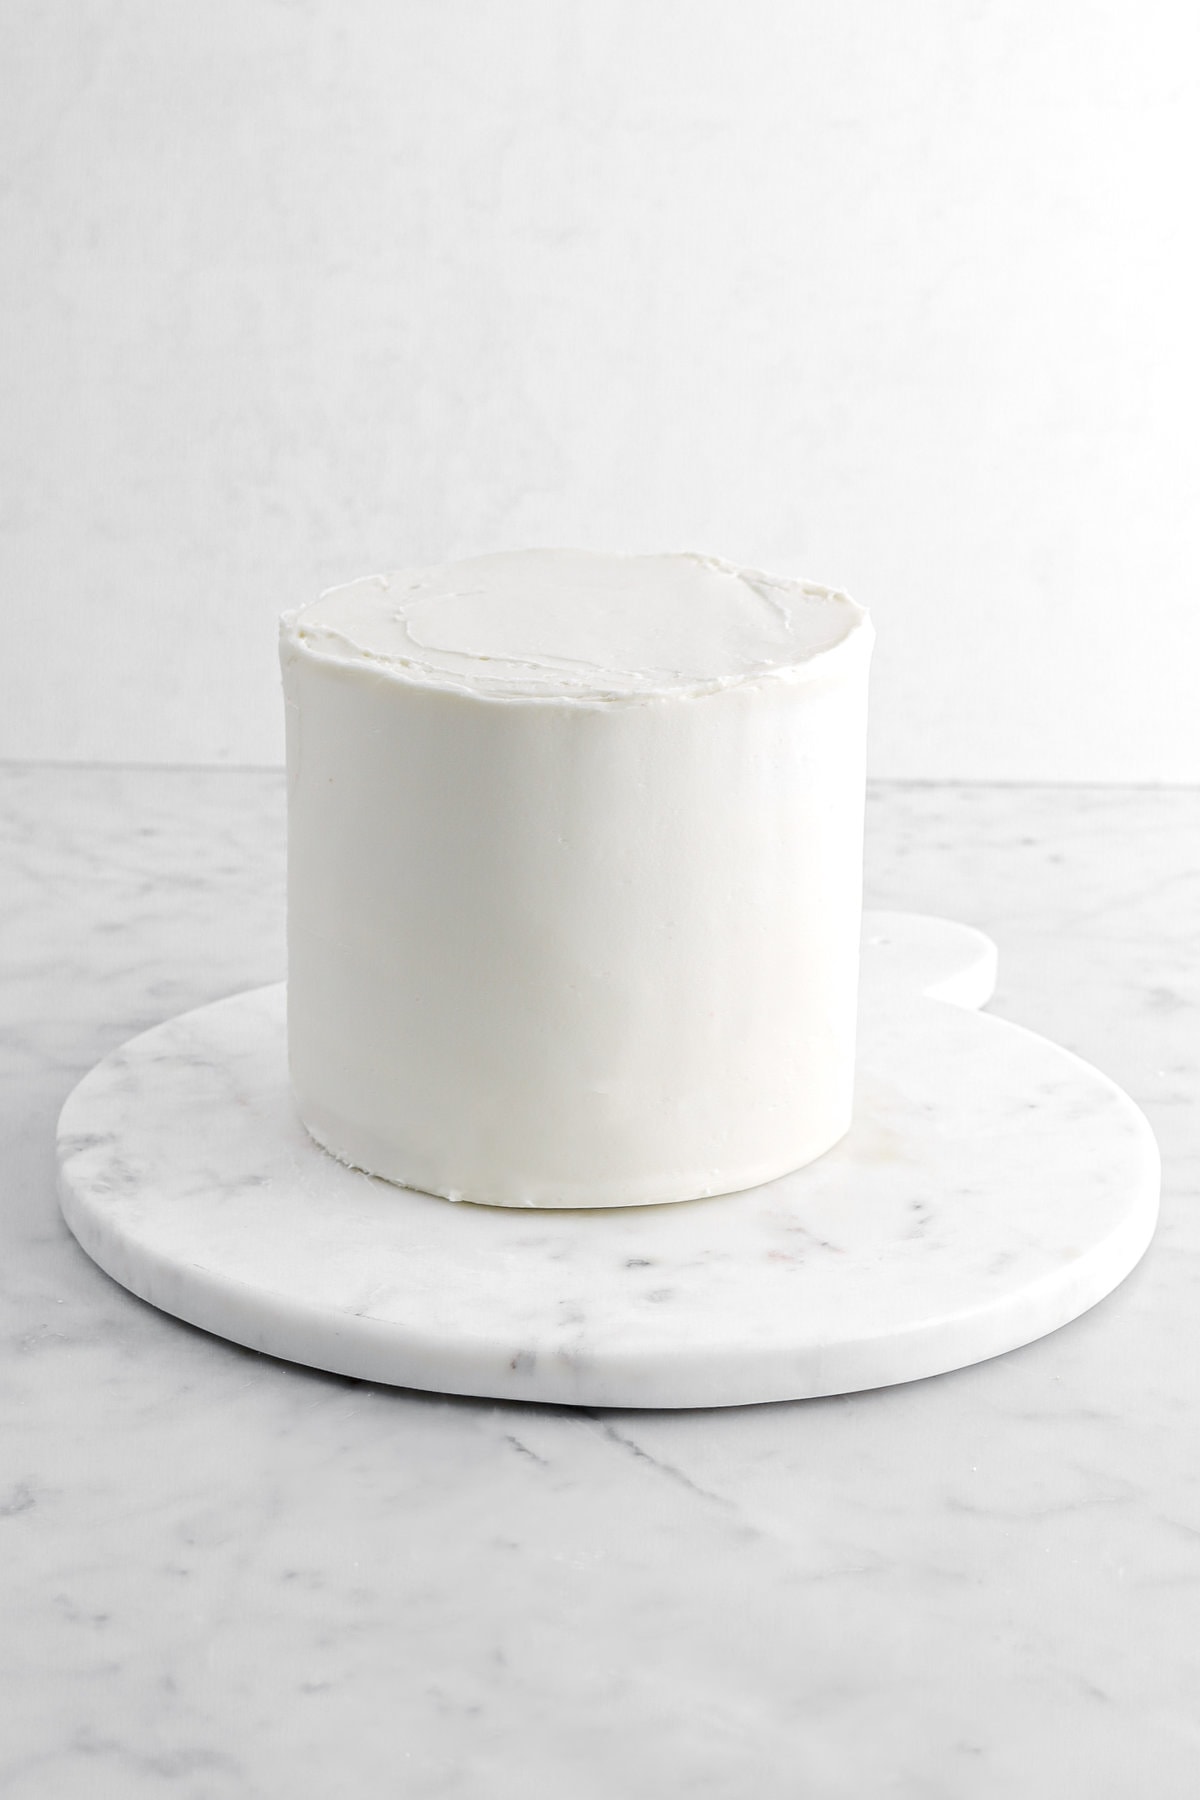
Top red layer with frosting. Repeat with remaining layers. Frost entire cake.
FAQ’s and Troubleshooting
Dryness can be a common issue with baking cakes. It’s either a result of over-mixing or over-baking! Though, keep in mind that under-mixing and under-baking can be equally as bad. So, be sure to follow the directions in the recipe card below (and make sure your oven is at the right temperature!) for the best results in this cake!
If there are lumps of dry ingredients in your batter and/or cake, this is likely due to the dry ingredients not being incorporated properly. Be sure to follow the recipe below for best results!
Tough cake is usually caused by over-mixing, which over-develops the gluten and that leads to a tough, dry, and dense cake.
If your cake didn’t rise, this could be a couple of things. The most common is that the cake was over-mixed. It could also be that your leavening is out of date! So, be sure to always check the expiration dates on your ingredients before baking.
There is a vast difference between peppermint extract and peppermint oil! Peppermint oil is pure peppermint while peppermint extract is diluted with alcohol. To give you an idea on how different they are, peppermint oil is about 4x stronger than peppermint extract. They are not interchangeable and, for this recipe, you need to use peppermint extract!
If your buttercream is lumpy, this is typically caused by to the powdered sugar not being sifted OR the butter being too cold. Usually, beating with an electric mixer on high for a few minutes will smooth it out.

Decorating Ideas
When it comes to this cake, it’s SO much fun to decorate! You can decorate it in so many different ways and have it look gorgeous. Here are a few of our favorite decorations/ways to decorate it!
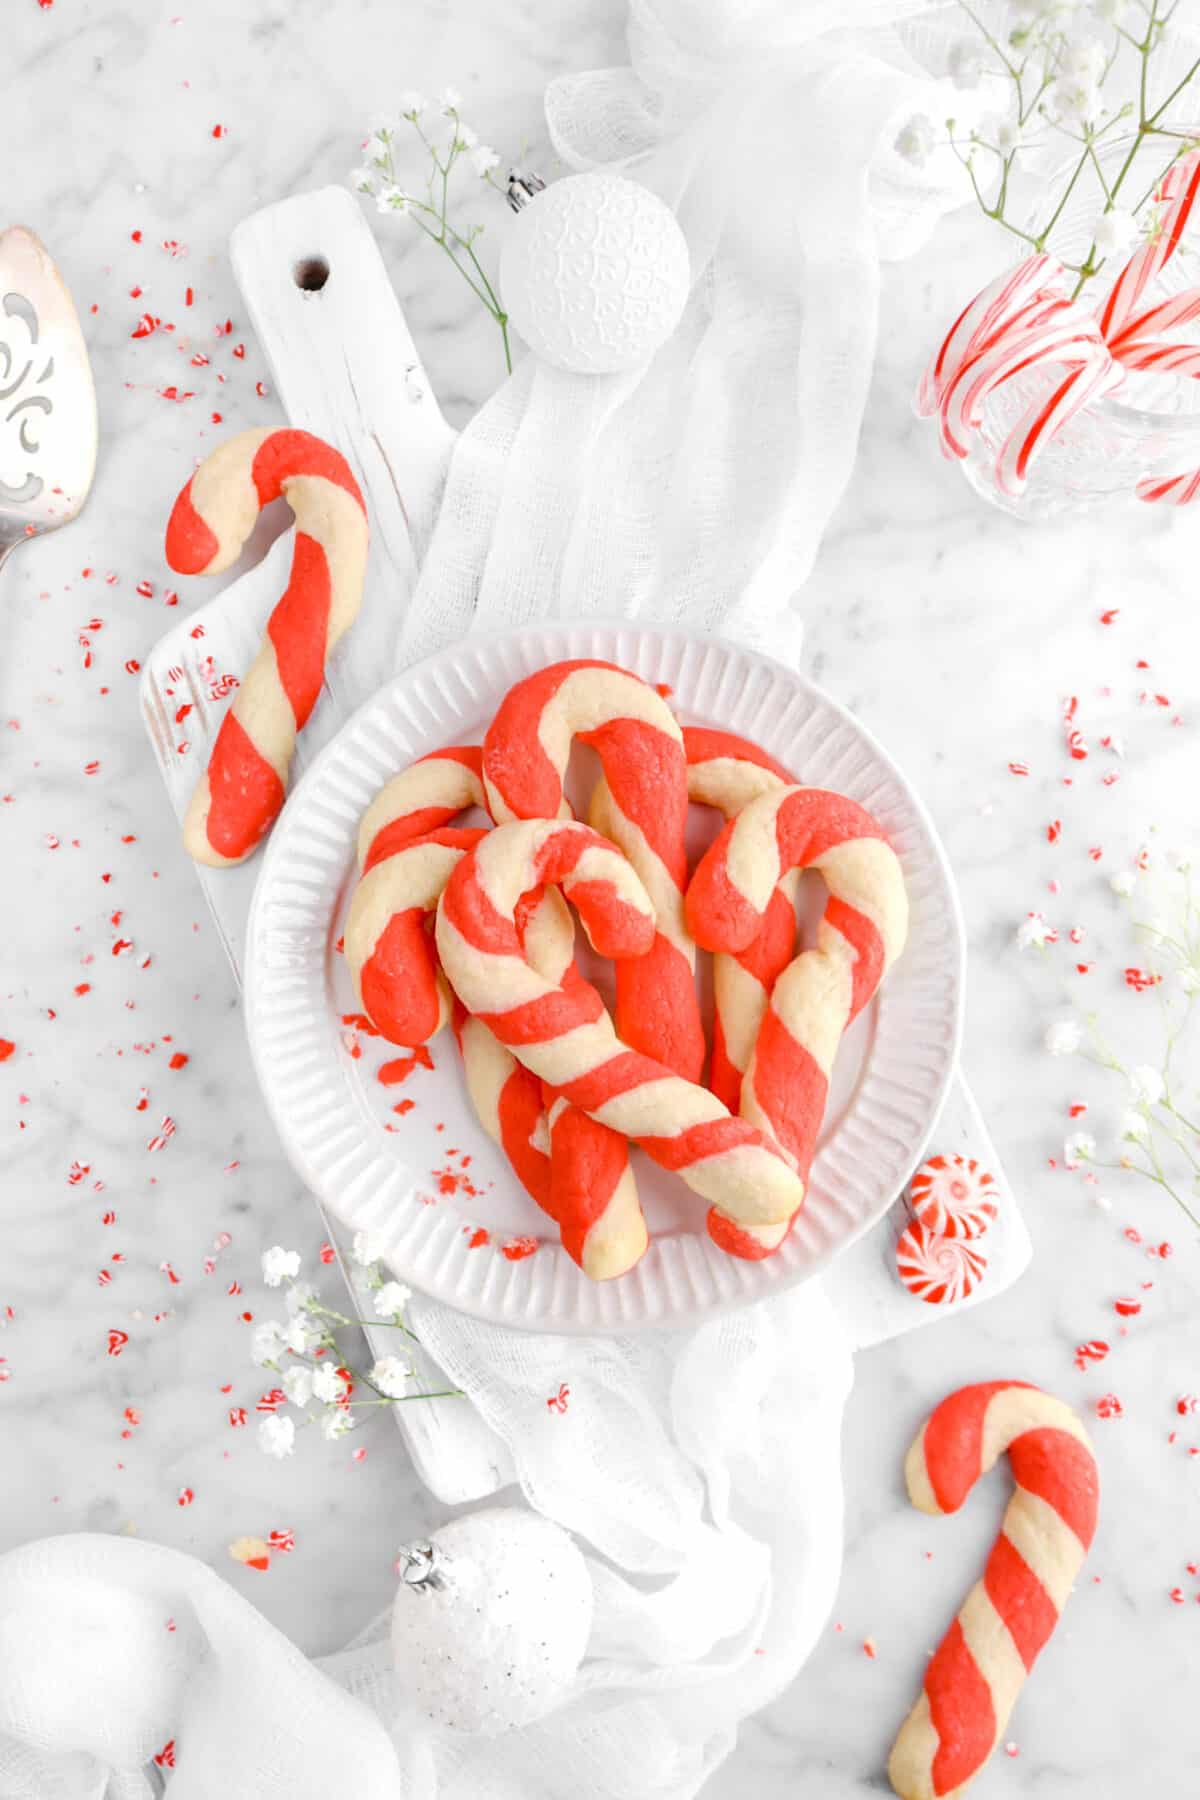
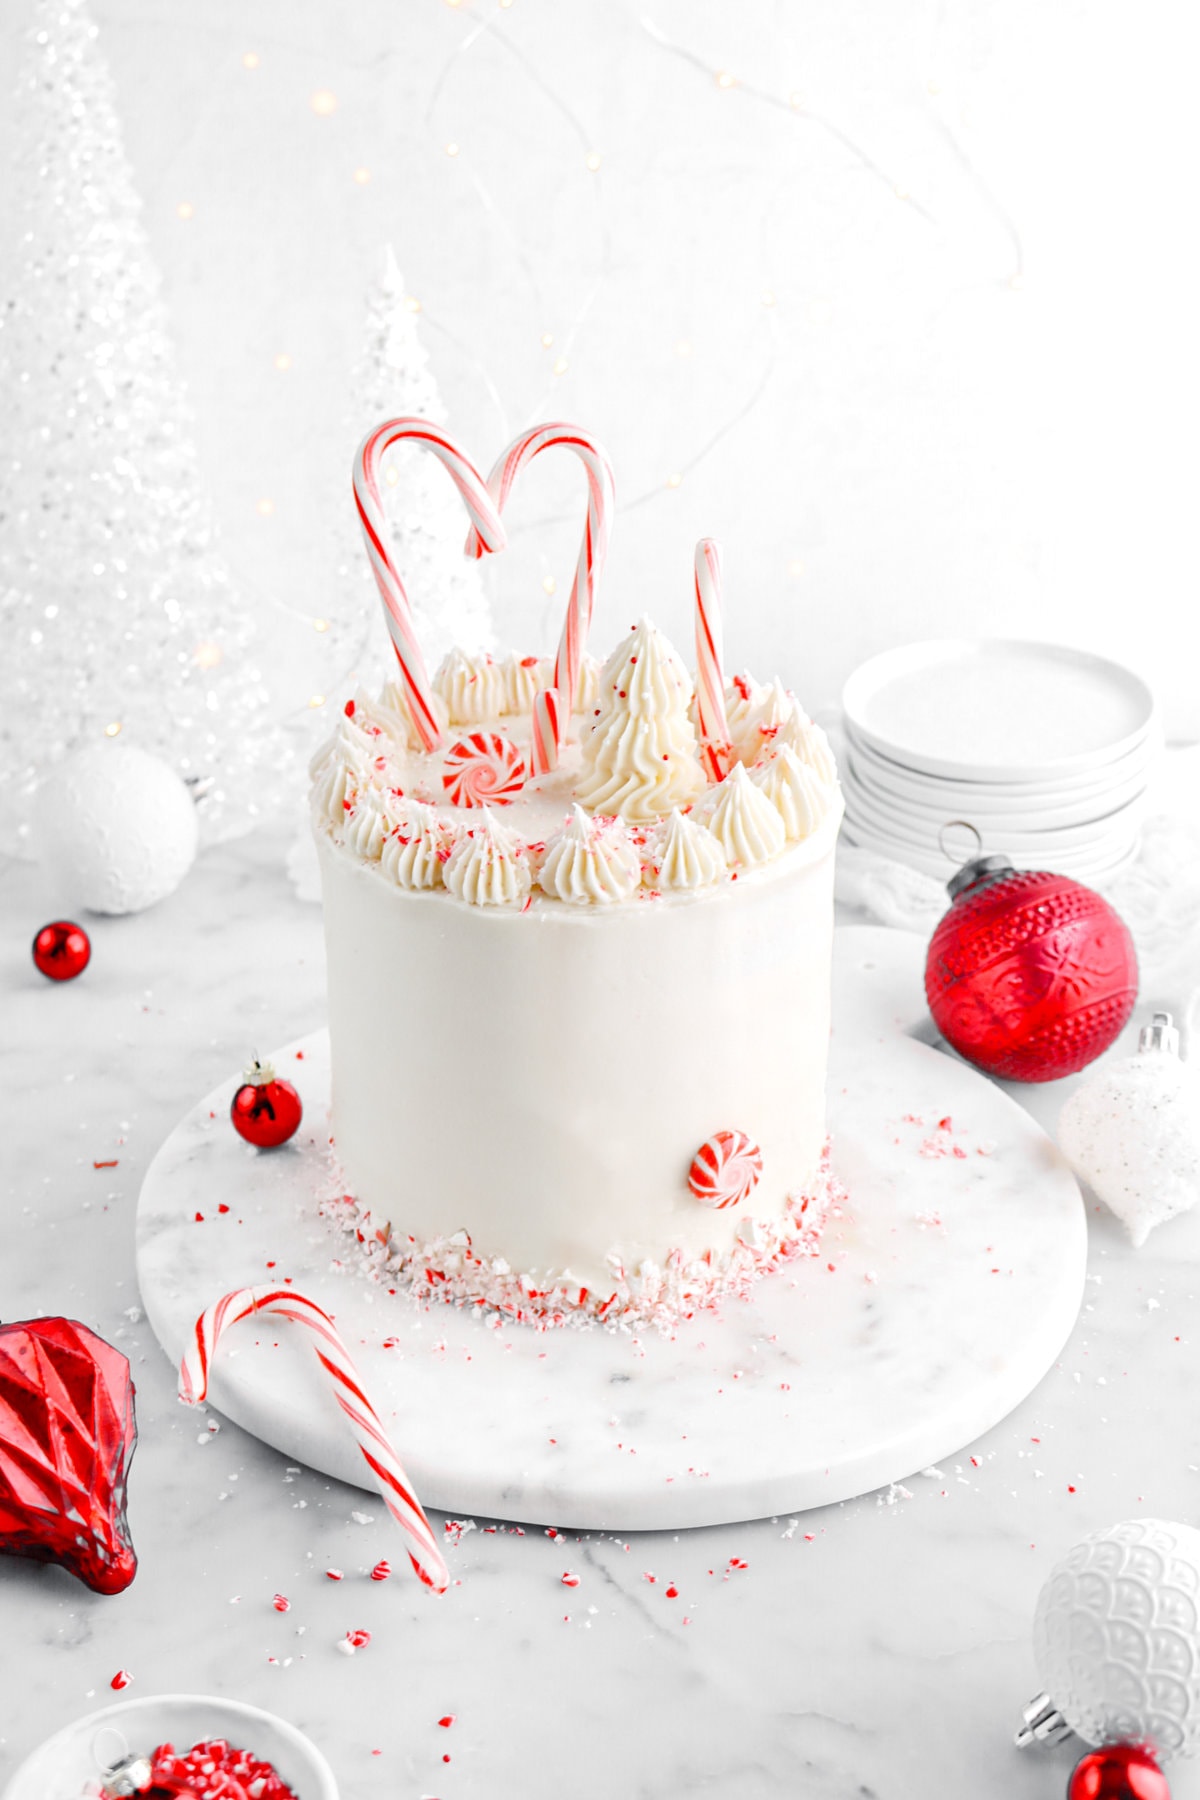
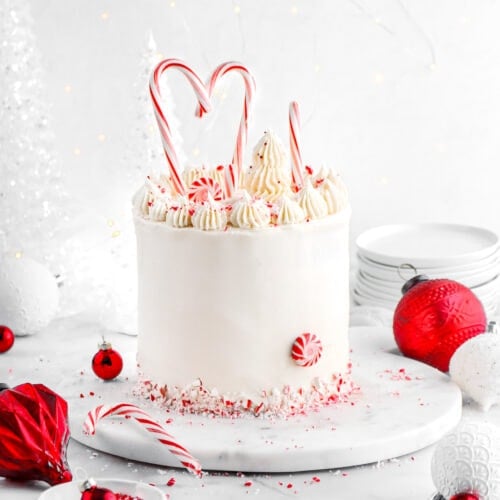
- Like a peppermint wonderland. I mean, it IS a white chocolate peppermint cake. So, might as well go all out, right? Use candy canes, crushed peppermint, peppermint sticks, peppermint wheels and place them on/in the cake. It makes for a delicious addition, as well as a stunning contrast of color!
- Color the frosting. Since you have red food dye on hand, might as well have some fun! Divide the frosting in half and color half of it with red food dye. This way, you can create a white and red striped exterior.
- Chocolate drips. A little extra chocolate is never a bad idea! Follow the tutorial on our Oreo Cake to create the perfect white chocolate drips.
- Marshmallow Snowmen. A cute way and creative way to add some decoration on this cake is to build some marshmallow snowmen!
- Pipe your frosting. This may sound like a simple idea, but it really can add SO much to your cake. Whether you’re piping intricate designs or making cute little trees, piping the extra frosting will always add a WOW factor to a cake. TIP: if you’ve colored the frosting, be sure to swirl the white and red frosting in the piping bag!
Looking for more Christmas recipes? Here are a few you may like:


Be Sure To Check Out Our New Merch!
*Available worldwide and comes in different styles + colors!


When you make this cake, be sure to leave a comment down below! We love hearing from you and answering any questions you might have! Also, be sure to tag us on social media and hashtag it #BakersTable.
White Chocolate Peppermint Cake
Ingredients
Cake
- 3 cups all purpose flour*
- 1¼ cup granulated sugar
- 1 Tablespoon baking powder
- 1 teaspoon salt
- 1½ cups whole milk
- 3 large eggs
- ¾ cup vegetable oil
- 1½ teaspoons vanilla extract
- 6 ounces white chocolate, melted
- ½ teaspoon red food coloring
Frosting
- 2¼ cups salted butter, room temperature
- 6 cups powdered sugar, sifted
- 3 Tablespoons heavy cream
- ¾ teaspoon vanilla extract
- 1½ teaspoon peppermint extract
Instructions
Cake
- Heat oven to 350℉.
- Spray four 6 inch cake pans with baking spray. Set aside.
- In a large bowl, whisk together flour, sugar, baking powder, and salt.
- In a medium bowl, whisk together milk, eggs, vegetable oil, and vanilla.
- Pour wet ingredients over dry ingredients.
- Mix only to blend.
- Stir in white chocolate.
- Divide batter in half.
- To one half of the batter, add dye.
- Stir until incorporated.
- Divide plain batter evenly between 2 of the prepared pans.
- Divide red batter evenly between the other 2 prepared pans.
- Bake for 25-30 minutes, or until cake tests done.
- Allow to cool 5-10 minutes, or until pans are cool to the touch.
- Turn out on wire cooling rack. Cool completely.
- Level, if needed.
Frosting
- In the bowl of a stand mixer fitted with the paddle attachment or with a hand held electric mixer, beat butter and powdered sugar until well blended about 2-3 minutes.
- Add cream, vanilla, and peppermint.
- Beat until light and fluffy, about 1-2 minutes.
Assembly
- Place one of the plain cake layers on serving platter.
- Top with frosting.
- Place a red layer of cake on top.
- Top with frosting.
- Repeat with remaining layers.
- Frost entire cake.
Notes + Tips!
- When melting the white chocolate for the cake, do not leave it sitting long! If it gets too cold, it will solidify. Though, don’t worry! All you need to do is quickly remelt the chocolate before adding it to the cake.
- Be careful to not over mix the cake batter.
- When dividing the cake batter, it’s best to use a ladle and a scale to help ensure each cake layer is even!
- If you’re unsure if the cake is baked, you can use a cake tester or a toothpick to test the cakes. If it comes out clean, the cake is fully baked!
- Let the cake layers cool COMPLETELY before assembling the cake.
- Depending on how the cakes bake, you may or may not need to level the cake layers.
- If you’d like, when frosting this cake, you can do a crumb coat to help ensure a clean and crumb-free frosting.
To get clean slices, wipe your knife after each cut! - If you don’t have piping bags, you can cut the corner of a zip top bag and use it as a piping bag.
Tools You May Need (affiliate links)
– Still Hungry? –
Here are a few recipes may like!


